 Save
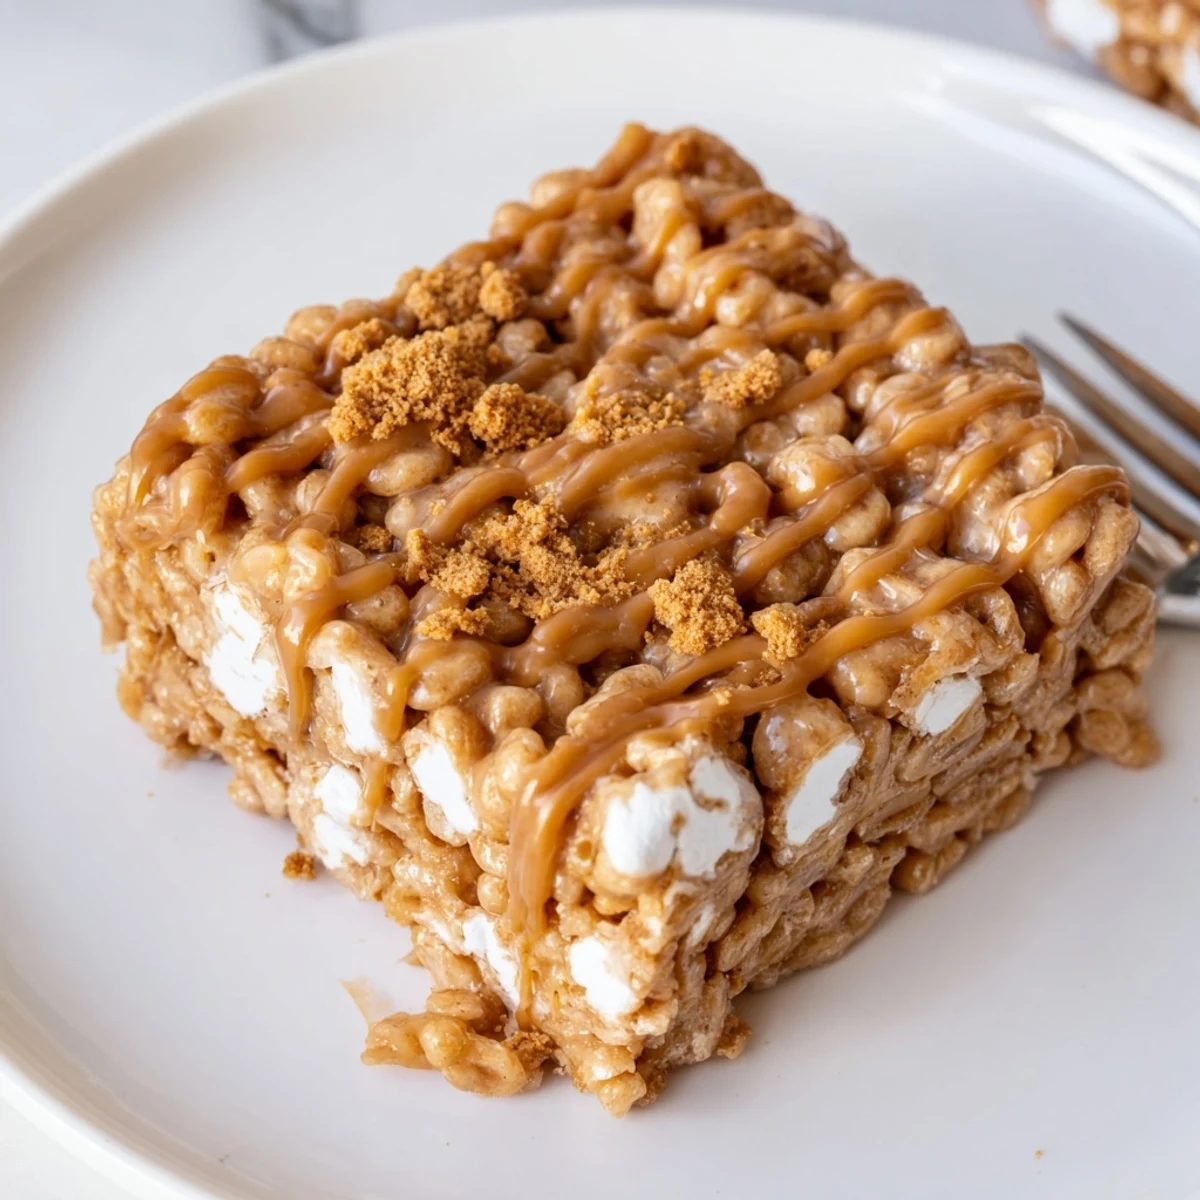
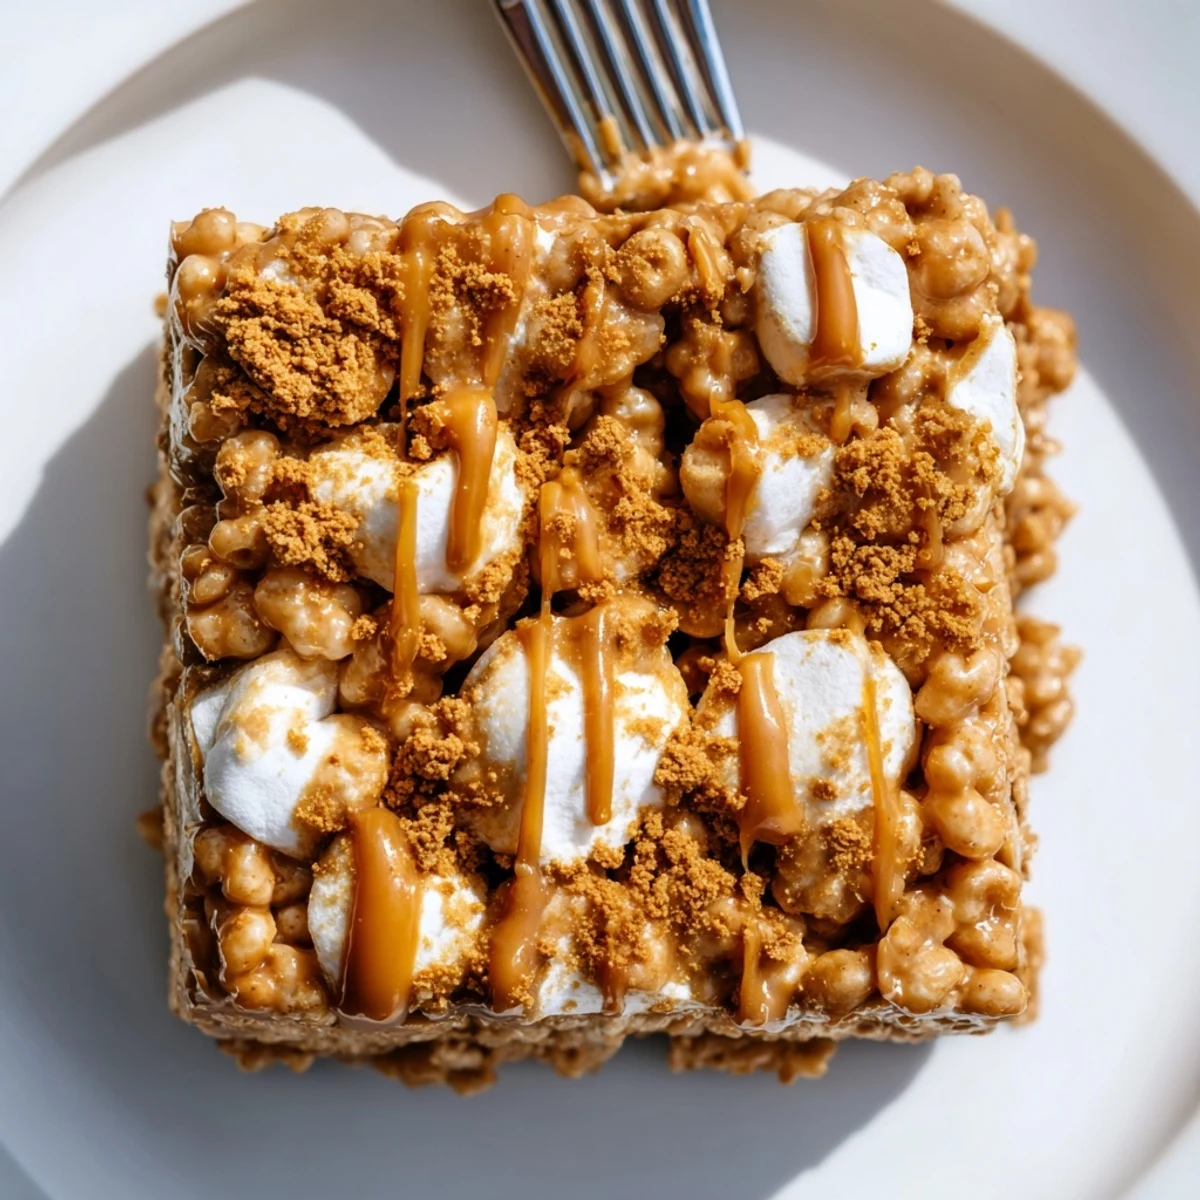
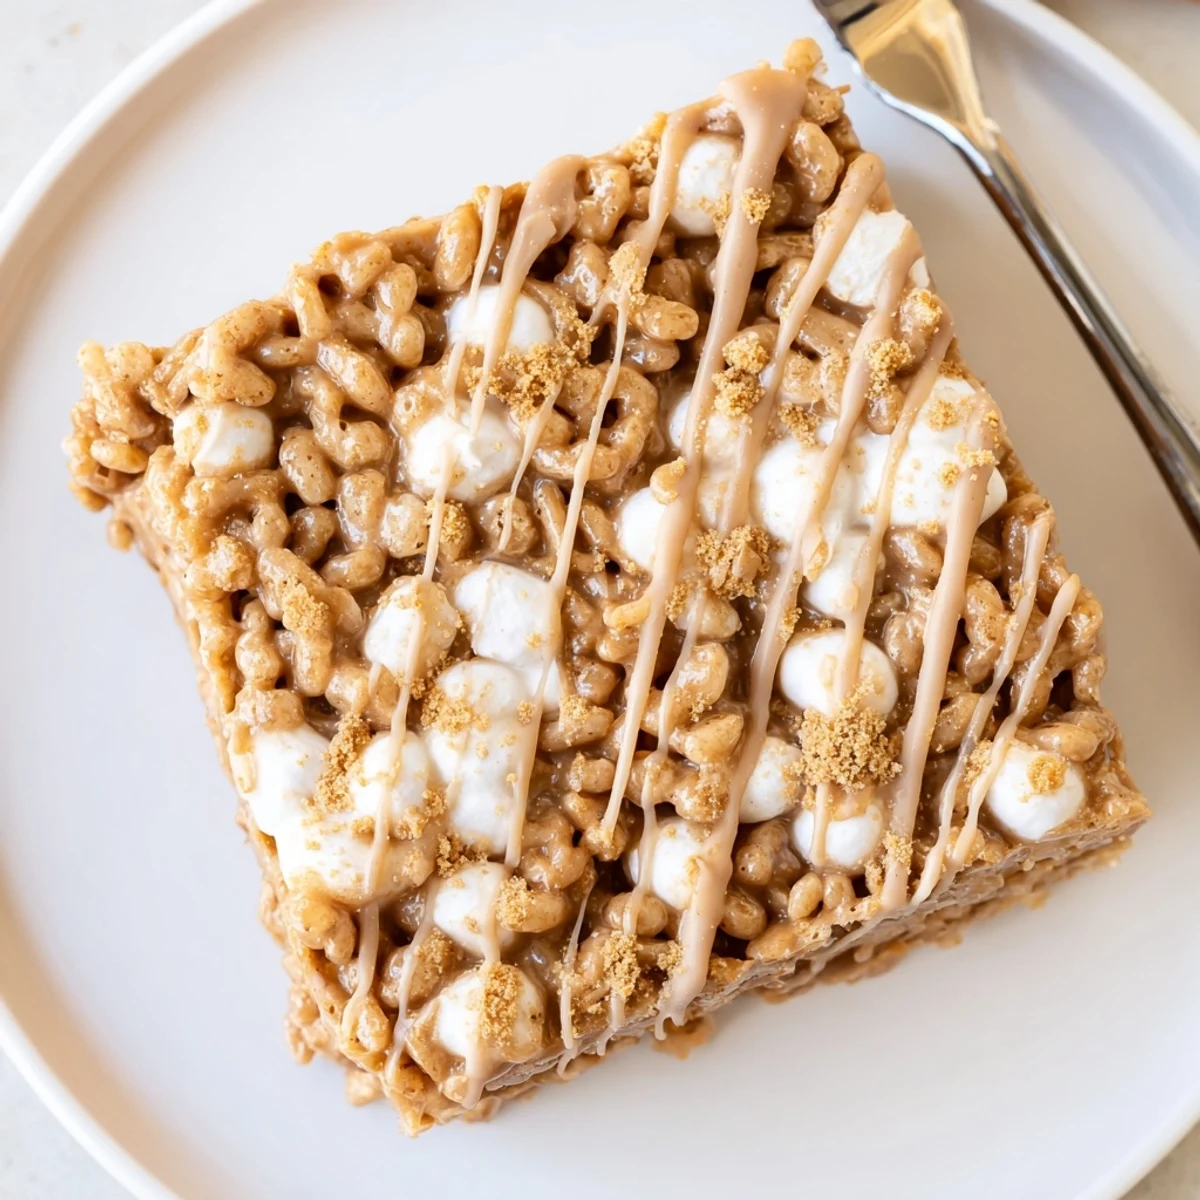
Save Melt butter and Biscoff spread together, stir in mini marshmallows until smooth, then fold in Rice Krispies until evenly coated. Press the mixture into a lined 9×9 pan, drizzle with melted Biscoff and sprinkle crushed cookies if desired. Let cool at room temperature or chill for firmer bars, then cut into 16 squares. Simple no-bake method with an optional peanut butter swap for a nutty variation.
There&aposs something about the earthy aroma of Biscoff spread melting into butter that makes my kitchen smell like a street-side bakery on a crisp morning. I stumbled on this Biscoff Rice Krispie Treats variation not in a whirlwind of creativity, but simply because a jar of the spread was staring at me from the pantry, begging to be used. My first attempt was a delicious mess: gooey, sticky hands, and cereal everywhere, but the flavor payoff was so worth it. Now these treats have become my quick cheat dessert for anytime I need a hit of childhood comfort with a sophisticated caramelized twist.
Last spring, I brought a pan of these to my friend&aposs impromptu backyard bonfire, and they vanished before the marshmallows on the sticks even turned golden. My cousin, not usually much for desserts, asked sheepishly if she could take home the last two squares. That&aposs when I knew Biscoff Rice Krispie Treats had settled firmly into my snack rotation.
Ingredients
- Unsalted butter: Helps everything start smooth and keeps flavors balanced—room temperature butter melts more evenly, so don&apost rush it.
- Biscoff spread: This is the magic ingredient; warm it gently before using so it pours and mixes like a dream.
- Rice Krispies cereal: Use the freshest you can find for ultimate crunch—I learned stale cereal makes the final bars a bit chewy.
- Mini marshmallows: They melt super quickly; pile them in all at once for a pillowy, gooey base.
- Melted Biscoff spread (for topping): Drizzled while the base is still slightly warm, it sinks in just enough to create ribbons of flavor.
- Crushed Biscoff cookies (optional): Extra crunch and a stylish finish—the trick is not to over-crush, so you get satisfying chunks.
Instructions
- Prep your pan:
- Line a 9x9 inch pan with parchment so you can lift the squares out cleanly later, and don&apost forget a light grease for insurance.
- Melt the base:
- Over low heat, swirl the butter until just melted and then stir in the Biscoff spread—watch as they mingle into a golden, fragrant pool.
- Bring in the marshmallows:
- Dump in all the mini marshmallows at once, working them gently with your spatula until the mixture is glossy and lump-free.
- Rice Krispie time:
- Remove from the heat and fold in the cereal fast, coating every grain before the mixture cools and stiffens.
- Press gently:
- Spoon the sticky blend into your pan and press it lightly with a greased spatula or some wax paper—don&apost pack them down too hard or they&apoll lose their signature springy bite.
- Topping magic:
- Drizzle the melted Biscoff over the top and shower with cookie crumbles if you want an extra crunch.
- Let them set:
- Patience pays—leave the pan on the counter for about 45 minutes so everything firms up enough to slice.
- Slice and serve:
- Cut into neat squares and sneak one while they&apose still just a little bit warm for the full Biscoff experience.
 Save
Save I can&apost help but smile thinking of the time I cut these into hearts instead of squares and packed them for a slightly corny but perfect anniversary picnic. That little bit of Biscoff magic made our park bench lunch feel like a special date (even with geese eyeballing us for crumbs).
Working with Sticky Mixtures
Sticky hands are the rite of passage here, but a quick rub of butter or a spritz of nonstick spray on your spatula and fingertips does wonders. I used to dread the cleanup—now I just embrace it with a smile because licking stray bits off the spoon is half the reward.
Choosing the Best Add-Ins
Some days I swap in a handful of white chocolate chips or a sprinkle of flaky salt for balance. Crushed Biscoff cookies on top are an easy upgrade, but shaved chocolate or toasted nuts can give these treats your own signature flair.
Serving and Storage Secrets
These squares love to be the star of a coffee table spread and taste incredible with a cold glass of milk. If you make them ahead, a sealed tin keeps them from drying out for up to three days—they might even be better the next day.
- Use a serrated knife for cleaner edges.
- Let the bars come to room temperature if you refrigerated them.
- Hide a square in the back of the fridge for an emergency treat.
 Save
Save May every square you cut bring a little bit of joy to your day—just don&apost be surprised when they disappear faster than you expect. Happy stirring, drizzling, and snacking!
Recipe FAQs
- → How do I keep the squares from turning soggy?
-
Press the mixture firmly into the pan to compact the cereal and marshmallow. Allow the bars to cool fully at room temperature or refrigerate for 30 minutes before cutting to set the structure and reduce sogginess.
- → Can I use regular or larger marshmallows?
-
Yes. Standard marshmallows will work; larger ones may need a slightly longer melt time. Tear big marshmallows for quicker, more even melting and stir constantly to avoid burning.
- → What storage method keeps them fresh longest?
-
Store squares in an airtight container at room temperature for up to 3 days or refrigerate for up to a week. Separate layers with parchment to prevent sticking and maintain texture.
- → Can I substitute Biscoff with another spread?
-
You can swap Biscoff for peanut butter or another cookie butter for a different flavor. Note that substitutions may change sweetness and texture; adjust quantities if the mixture seems too wet or dry.
- → How can I make a vegan version?
-
Use vegan buttery spread or coconut oil in place of butter and choose vegan marshmallows free of gelatin. Verify Biscoff or alternative spread ingredients for vegan compatibility.
- → Will a different pan size affect the outcome?
-
Yes. Using a larger pan yields thinner squares and shorter set time; a smaller pan produces thicker squares and may require longer chilling. Aim for a 9×9-inch pan to match the suggested yield and texture.