 Save
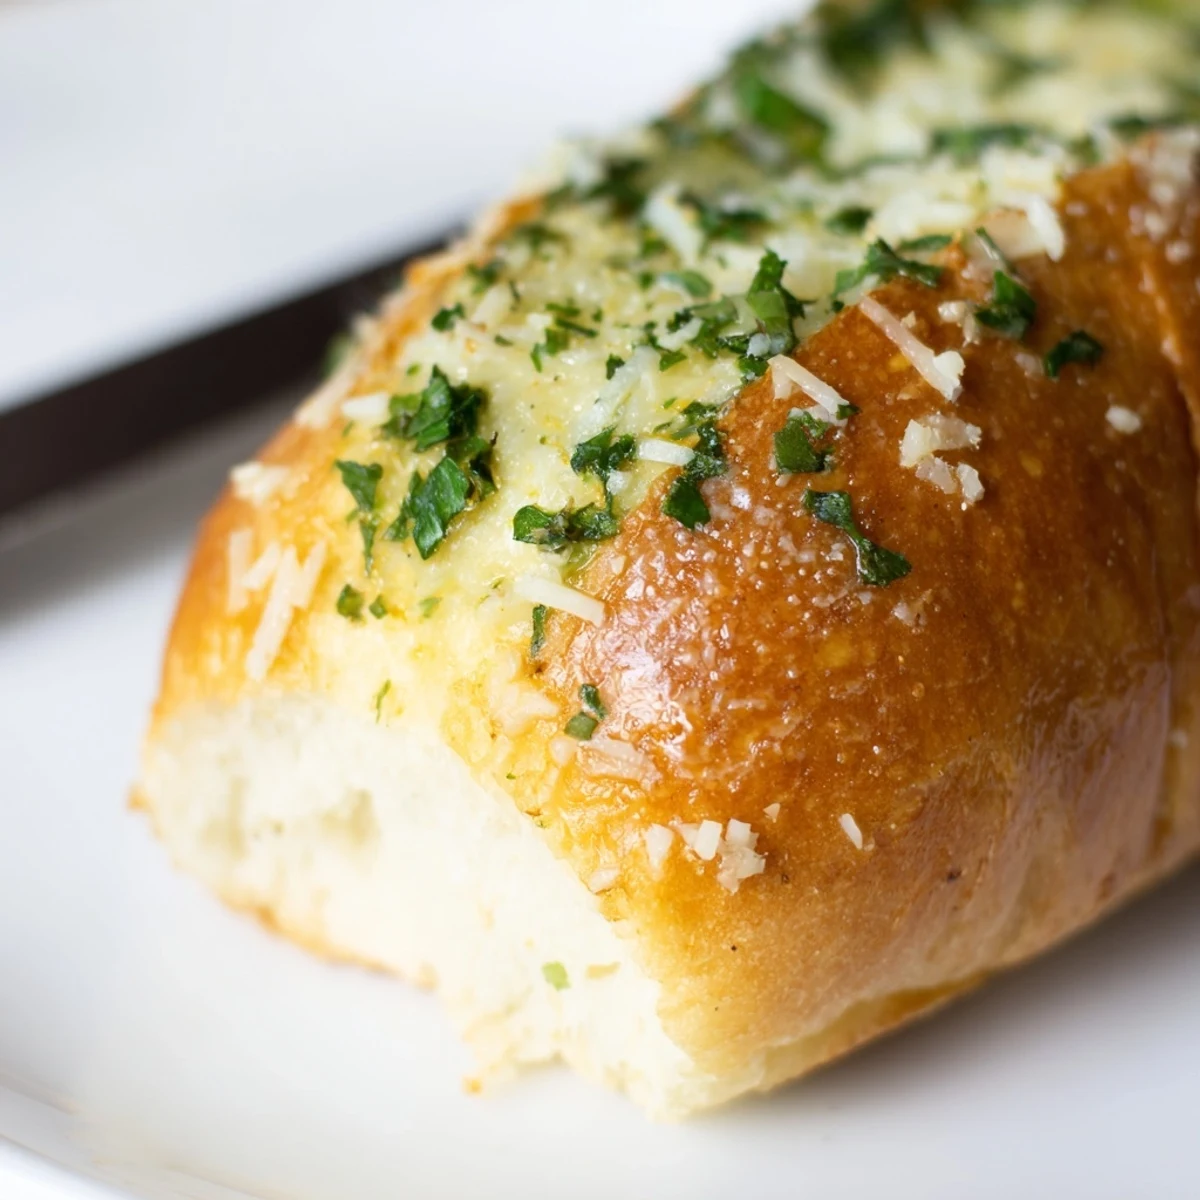
Save These homemade garlic bread rolls feature pillowy soft dough swirled with rich garlic butter, fresh parsley, and Parmesan. The yeast-based dough rises to perfection, creating tender interiors with golden-brown crusts. Each warm roll delivers bursts of savory garlic and herbs, making them ideal for family dinners or gatherings.
My apartment smelled like a Italian restaurant for three days straight after I first attempted these garlic bread rolls. I had friends coming over for pasta night and decided last minute that store bought bread would not cut it. The memory of pulling that golden pan from the oven, watching everyone reach past the main course to grab another roll, still makes me smile.
Last winter during a particularly gloomy week, I made a double batch of these just to have something warm and comforting coming out of the oven. My roommate wandered into the kitchen three separate times, claiming to be looking for completely unrelated items, when really we both just wanted to hover near the baking pan.
Ingredients
- 3 1/2 cups (420 g) all-purpose flour: This creates the perfect structure for soft rolls without becoming dense or heavy
- 2 1/4 tsp (1 packet) active dry yeast: One standard packet gives reliable rise every single time
- 1 cup (240 ml) warm milk: Warm to about 110°F, hot enough to activate the yeast but not kill it
- 2 tbsp sugar: Feeds the yeast and adds just a touch of sweetness to balance the savory filling
- 1 tsp salt: Essential for flavor, do not skip or the rolls will taste flat
- 1/4 cup (60 g) unsalted butter, melted: Adding fat to the dough keeps the rolls tender and moist
- 1 large egg: Provides richness and helps create that beautiful golden color when baked
- 1/2 cup (115 g) unsalted butter, softened: Room temperature butter spreads smoothly into the dough without tearing
- 4 cloves garlic, minced: Fresh garlic packs way more flavor than garlic powder, mince it finely so it distributes evenly
- 2 tbsp fresh parsley, finely chopped: Adds color and a fresh herbal note that cuts through the rich butter
- 1/2 tsp salt: Balances the filling and brings out all the garlic flavor
- 1/4 cup (25 g) grated Parmesan cheese: Adds umami depth and helps create those irresistible crispy edges
- 2 tbsp melted butter: The final brush creates that restaurant style glossy finish
- 1 tbsp parsley, chopped: Fresh green garnish makes these look like they came from a bakery
- 1 tbsp Parmesan cheese (optional): Extra cheese on top never hurt anyone
Instructions
- Wake up the yeast:
- Dissolve the sugar in warm milk, sprinkle the yeast on top, and wait until you see a foamy layer form
- Mix the dough:
- Combine flour and salt in a large bowl, then add melted butter, egg, and the yeast mixture until everything comes together
- Knead until smooth:
- Work the dough on a floured surface for 8 to 10 minutes until it feels elastic and bounces back when you press it
- Let it rise:
- Place the dough in a greased bowl, cover it, and walk away for about an hour until it has doubled in size
- Make the garlic butter:
- While the dough rises, mix softened butter, garlic, parsley, salt, and Parmesan into a spreadable paste
- Shape the rolls:
- Punch down the dough, divide it into 12 pieces, flatten each into a rectangle, spread with garlic butter, then roll tight and pinch the seal
- Second rise:
- Arrange the rolls seam side down in a baking pan, cover them, and let them puff up for another 20 to 30 minutes
- Bake to golden:
- Brush the rolls with melted butter, add your toppings, then bake at 350°F for 20 to 25 minutes until they are beautifully browned
 Save
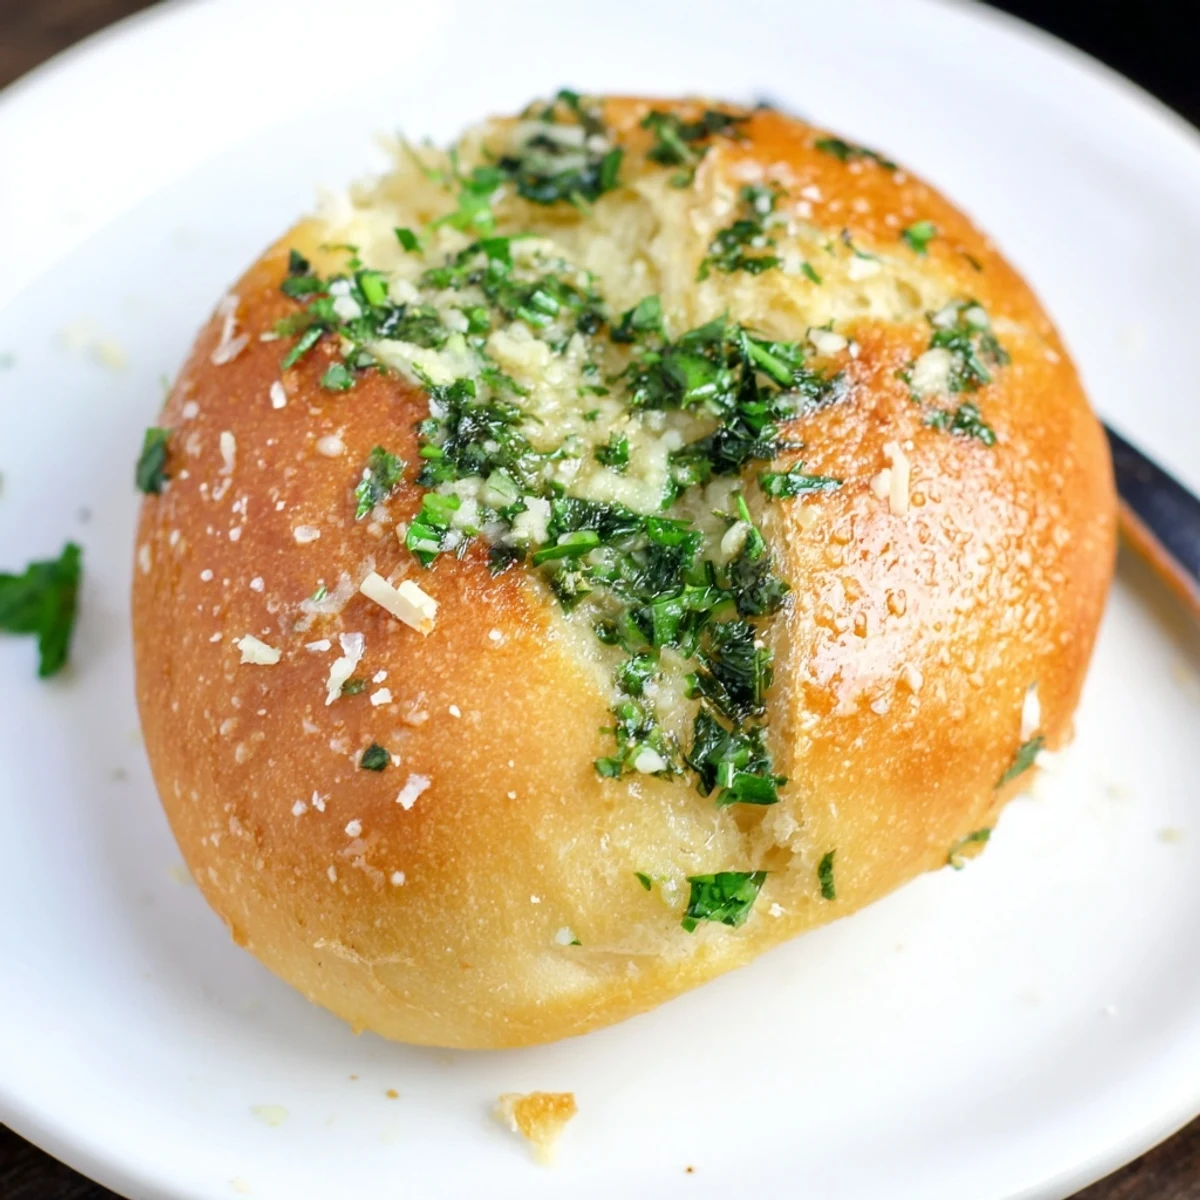
Save These rolls have become my go to whenever someone needs cheering up or whenever I need to feel like a domestic wizard. There is something deeply satisfying about watching pillowy dough transform into golden, garlic scented perfection.
Make Ahead Magic
I have discovered you can prepare these rolls through the shaping step, cover the pan tightly, and refrigerate overnight. Let them sit at room temperature for 30 minutes while the oven preheats, then bake as directed. This trick saved me more than once when hosting dinner parties.
Freezing Instructions
Fully baked rolls freeze beautifully for up to a month. Wrap them individually in foil, thaw at room temperature, then pop them in a 350°F oven for 5 to 10 minutes to restore that fresh baked warmth. I keep a stash in my freezer for emergency bread cravings.
Serving Suggestions
These rolls disappear fastest alongside pasta dishes, soups, or just torn apart and eaten standing up by the oven. They also make incredible breakfast sandwich bases the next morning, especially with a fried egg and some extra cheese.
- Try adding a pinch of red pepper flakes to the garlic butter for a subtle kick
- Swap parsley for basil or chives depending on what is wilting in your crisper drawer
- Leftovers (if you somehow have them) reheat surprisingly well in the air fryer for 2 to 3 minutes
 Save
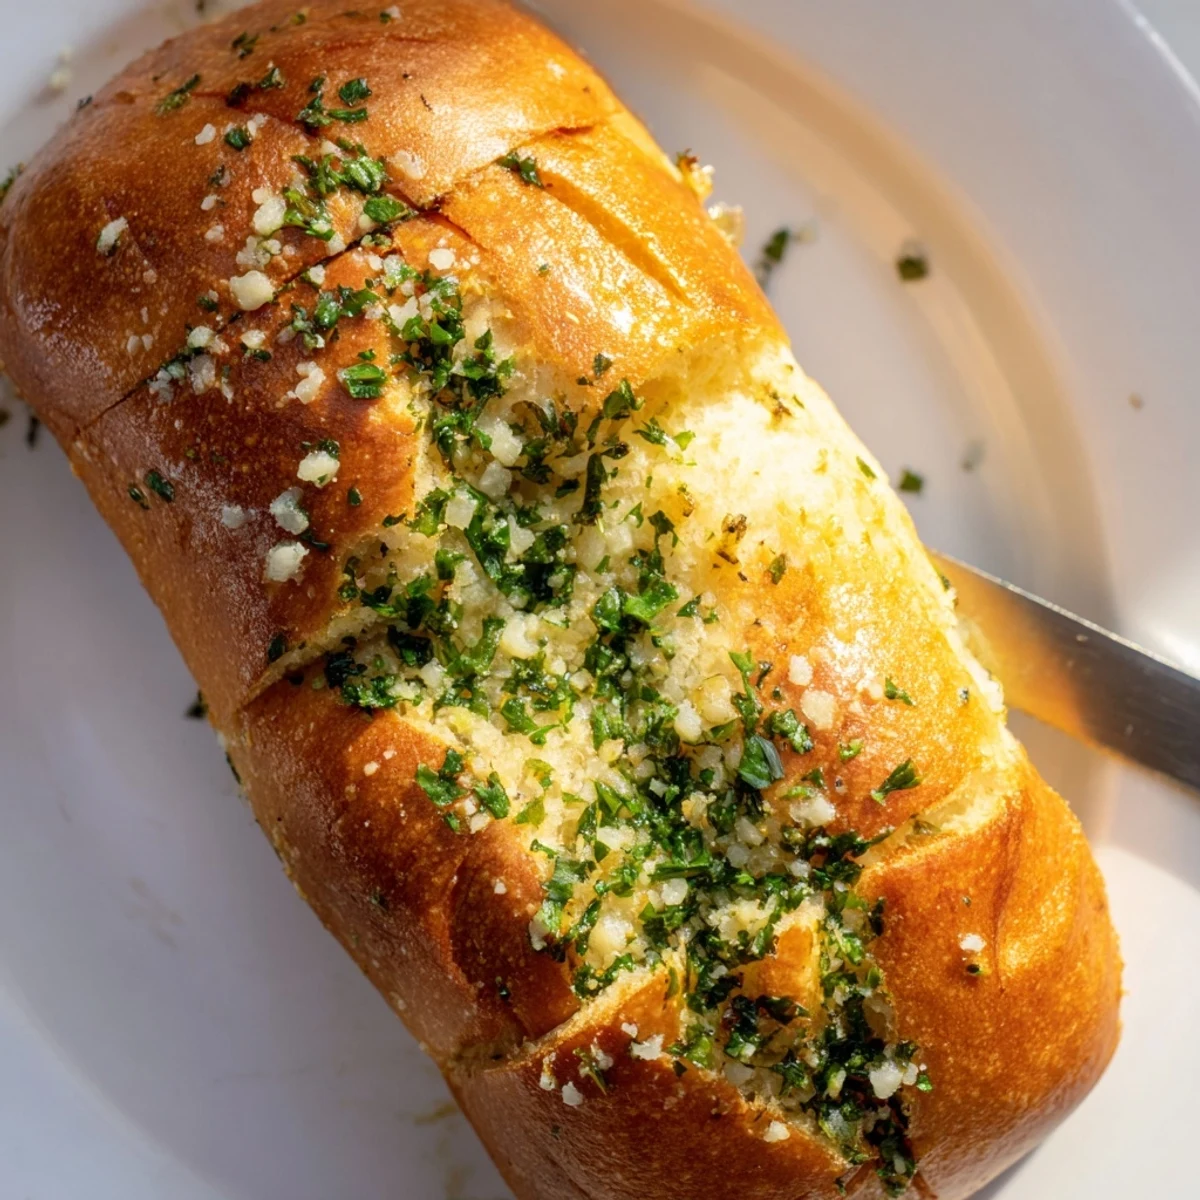
Save There is no better smell in the world than garlic and butter melting into fresh bread. These rolls might just become your most requested recipe.
Recipe FAQs
- → How long do the rolls need to rise?
-
The first rise takes approximately 1 hour until doubled in size. The second rise after shaping requires 20–30 minutes until puffy.
- → Can I make these ahead of time?
-
Yes, prepare through step 5, cover tightly, and refrigerate overnight. Let come to room temperature 30 minutes before the final rise and baking.
- → What can I use instead of fresh garlic?
-
Substitute 1 teaspoon garlic powder or ½ teaspoon garlic granules. Adjust to taste preference for milder or stronger flavor.
- → How should I store leftover rolls?
-
Store in an airtight container at room temperature up to 2 days. Freeze for longer storage—wrap individually and reheat in oven at 350°F for 5–10 minutes.
- → Can I use whole wheat flour?
-
Substitute up to half the all-purpose flour with whole wheat. The texture will be denser and slightly nuttier, adding wholesome flavor.