 Save
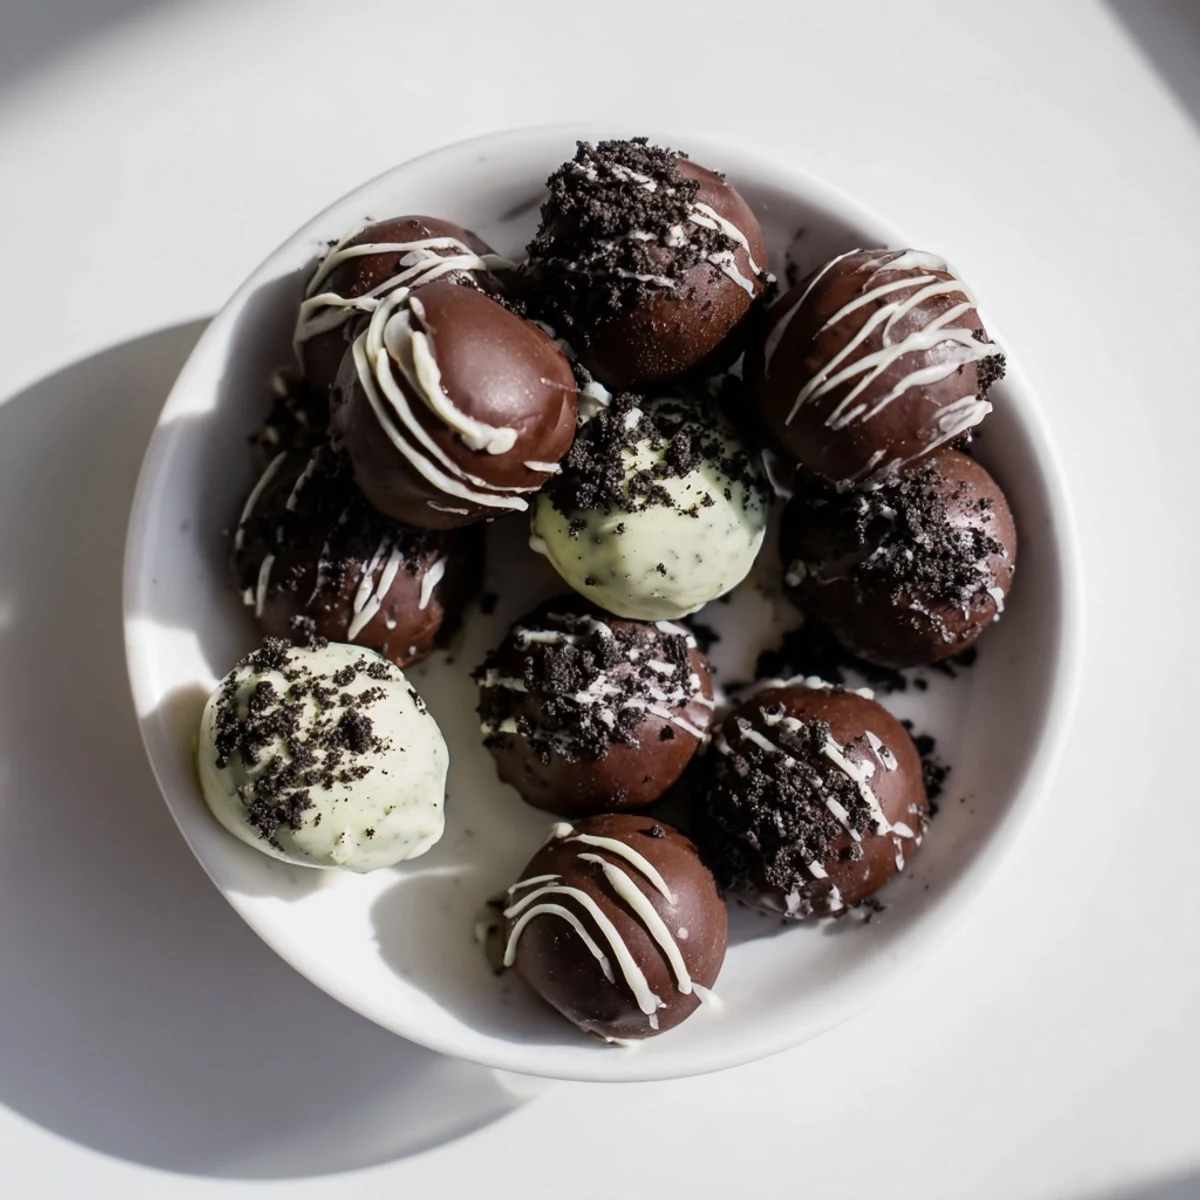
Save These mint Oreo truffles combine crushed mint cookies with cream cheese for a creamy filling, then hand-dip each piece in melted dark chocolate. The chilling process ensures perfectly firm centers that hold their shape during coating. Ready in just over an hour with only 25 minutes of active prep, these no-bake treats are ideal for entertaining.
The process is straightforward: pulse cookies into fine crumbs, blend with softened cream cheese, roll into uniform balls, then freeze briefly before dipping in chocolate. Optional crushed cookie topping adds texture while white chocolate drizzle creates an elegant finish perfect for holidays and gatherings.
I stood in my kitchen at midnight, cradling a pack of mint Oreos like they contained the secrets to the universe. My sister had mentioned wanting something chocolatey for her birthday dinner the next evening, and I'd impulsively bought three packages of these cool, speckled cookies. The food processor hummed as I transformed them into fine crumbs, that unmistakable mint-scented dust rising up and making the whole kitchen smell like childhood.
When I brought that first batch to my sister's party, her husband took one bite and looked genuinely horrified. 'You made these?' he demanded, like I'd been hiding a culinary degree. They vanished so fast I barely got to try one myself. Now I always make a double batch and stash a few in the back of the fridge before guests arrive.
Ingredients
- 36 mint-flavored Oreo cookies: These create the perfect mint-chocolate base—no extract needed since the cookies do all the flavor work
- 225 g (8 oz) cream cheese, softened: Let it sit out for at least an hour so it blends seamlessly into the cookie crumbs without leaving white streaks
- 340 g (12 oz) dark or semi-sweet chocolate, chopped: Higher quality chocolate makes a huge difference here since the coating is half the experience
- 2–3 mint Oreo cookies, finely crushed: Save these from the main batch for that gorgeous speckled garnish on top
- 1 tbsp white chocolate, melted: The drizzle isn't just pretty—it adds a creamy sweetness that balances the dark coating
Instructions
- Prepare your workspace:
- Line a baking sheet with parchment paper now because once that chocolate starts melting, you won't have time to hunt for supplies
- Make the minty base:
- Pulse those Oreos into fine crumbs, reserving about two tablespoons for garnish, then add the softened cream cheese and pulse until it forms a thick, uniform dough that holds together when squeezed
- Shape the truffles:
- Roll the mixture into 1-inch balls and place them on your prepared sheet—they'll be slightly sticky so work quickly and keep a damp paper towel nearby
- Chill thoroughly:
- Freeze the balls for 30 minutes because warm truffle centers will make your chocolate coating seize and turn grainy
- Melt the coating:
- Melt the chocolate in 30-second microwave intervals, stirring between each, until it's smooth and glossy like liquid silk
- Dip and decorate:
- Use two forks to lower each truffle into the chocolate, let the excess drip off, then immediately sprinkle with crushed cookies or drizzle with white chocolate before it sets
- Set completely:
- Refrigerate for at least 30 minutes until the chocolate coating is firm and makes a satisfying snap when you bite into it
 Save
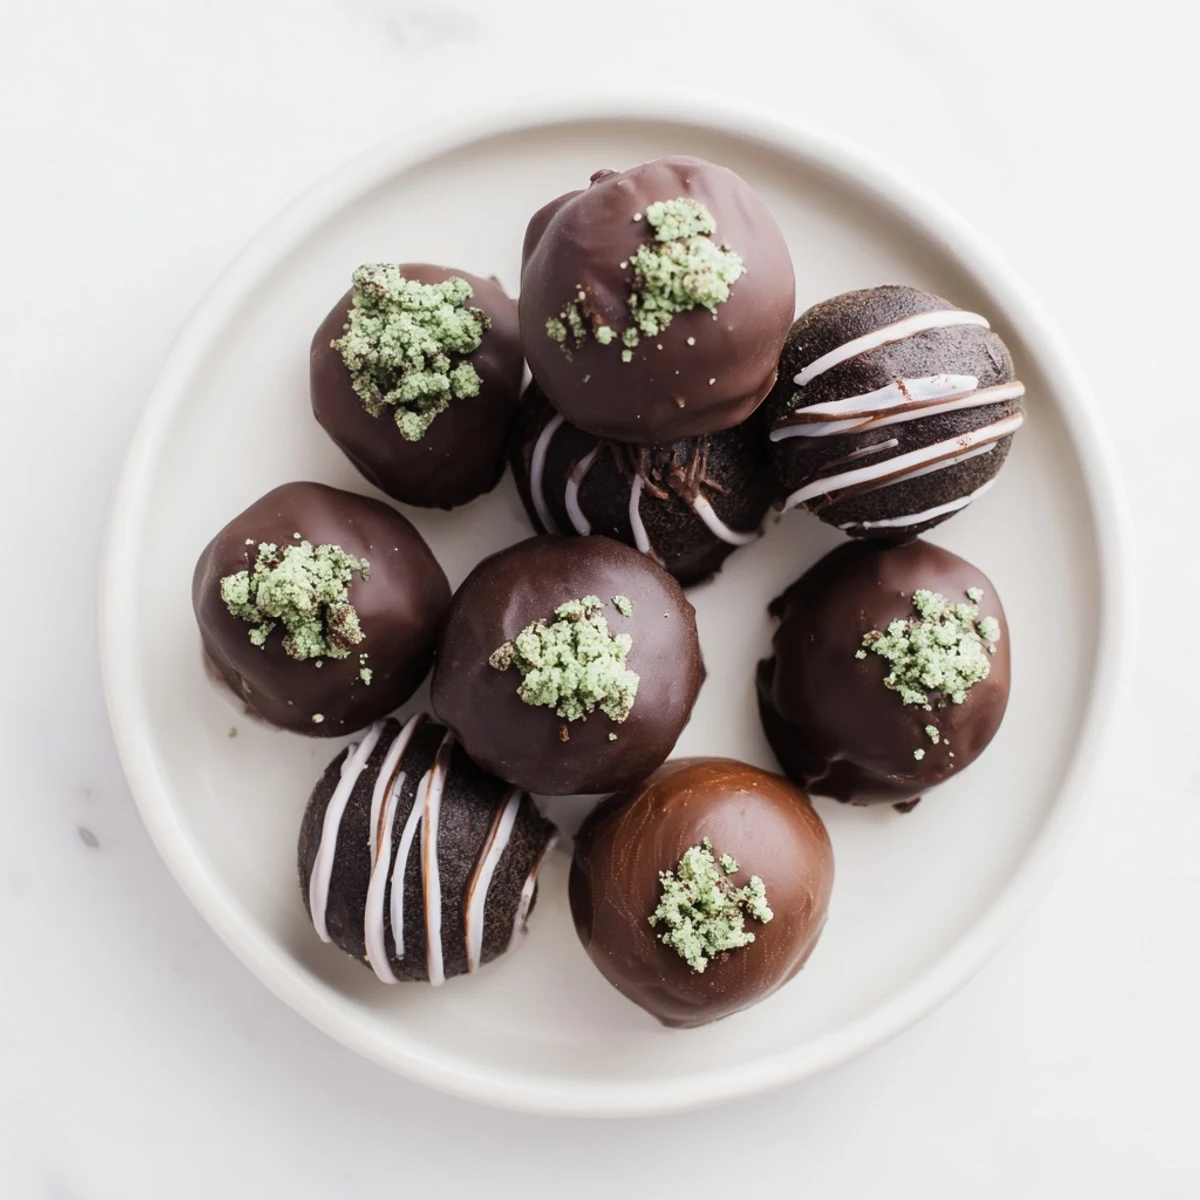
Save Last Christmas, I packed a tin of these for my neighbor who'd just had surgery. She texted me the next day saying she'd eaten three while watching terrible holiday movies and felt significantly better. Sometimes chocolate really is medicine.
Getting the Perfect Coating
I learned the hard way that warm truffles equal disaster when dipping chocolate. After one afternoon of trying to rescue seized chocolate coating, I now religiously freeze the truffle centers for the full 30 minutes. The difference is night and day—smooth, glossy coating instead of a clumpy mess.
Making Them Your Own
My cousin swaps the mint Oreos for peanut butter ones and uses milk chocolate coating. I've also tried adding a pinch of sea salt on top before the chocolate sets. The basic formula is so forgiving that you can really make it your own signature treat.
Storage and Sharing
These keep beautifully in the fridge for up to a week, though in my house they barely survive 24 hours. I've also frozen them for months—they thaw on the counter in about 20 minutes and taste freshly made. The real challenge is not eating them all before they reach their intended recipient.
- Layer truffles between parchment paper in an airtight container to prevent sticking
- Bring to room temperature 15 minutes before serving for the creamiest texture
- Package them in pretty cupcake liners for instant gifting presentation
 Save
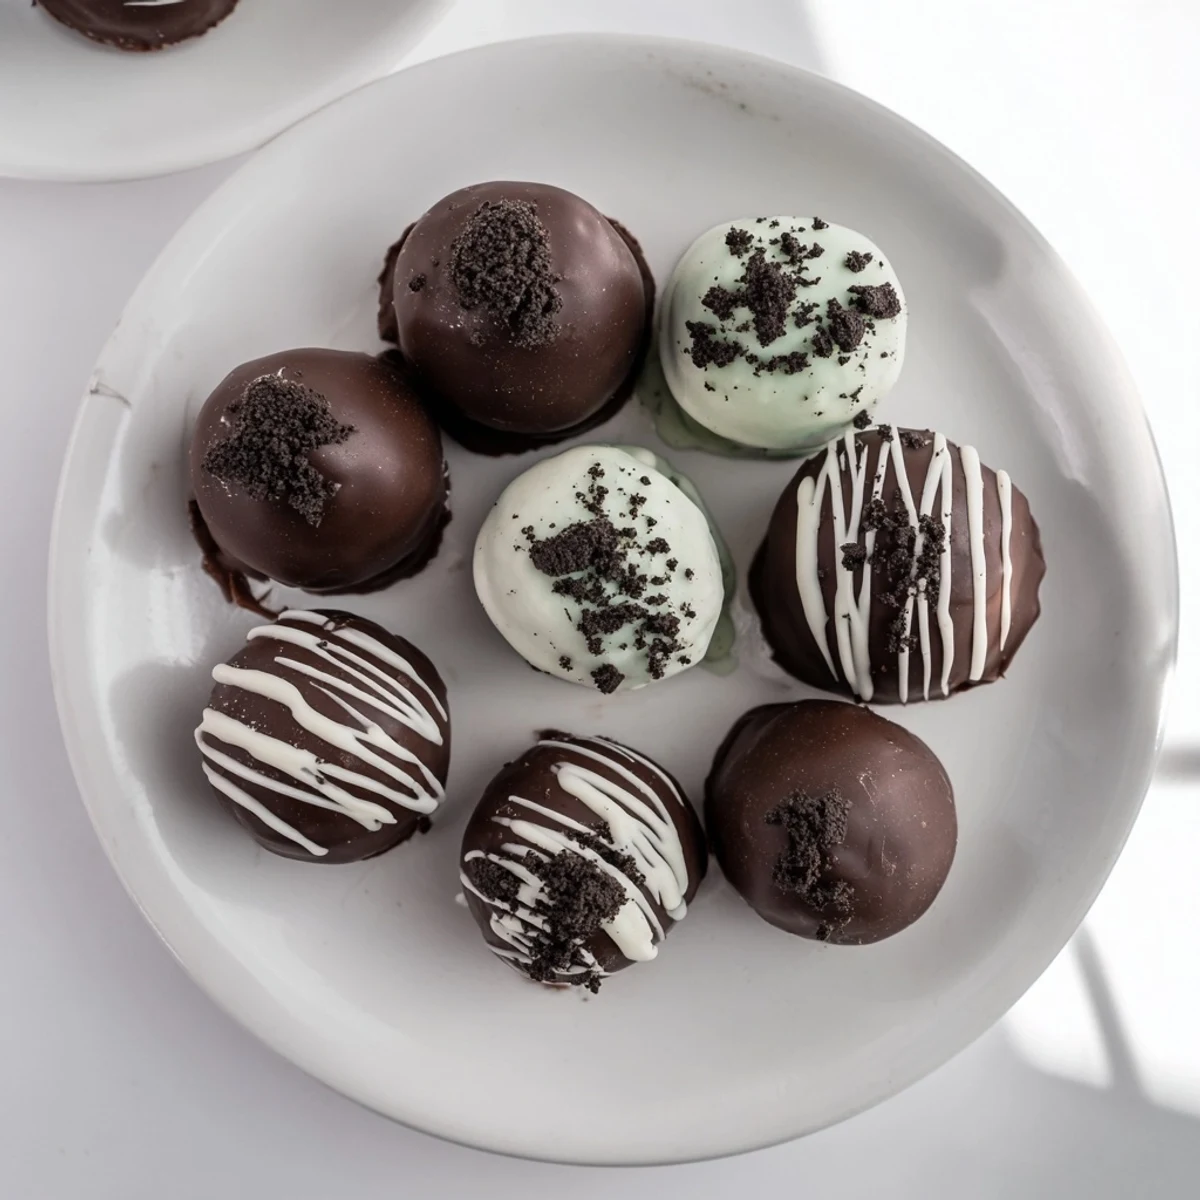
Save There's something deeply satisfying about turning a humble package of cookies into something that feels genuinely fancy and indulgent. Plus, the way people's eyes light up when they bite into that cool mint center? That never gets old.
Recipe FAQs
- → How long do mint Oreo truffles stay fresh?
-
Store truffles in an airtight container in the refrigerator for up to one week. For longer storage, freeze them for up to three months. Thaw frozen truffles in the refrigerator before serving.
- → Can I make these truffles ahead of time?
-
Yes, prepare truffles up to three days in advance. Keep them refrigerated until ready to serve. The chocolate coating maintains its texture beautifully when stored properly.
- → What can I use instead of mint Oreos?
-
Substitute regular Oreo cookies and add half teaspoon peppermint extract to the cream cheese mixture. This provides the same mint flavor profile without specialty cookies.
- → Why do my truffles crack when dipping?
-
Cracking occurs when the centers are too cold or the chocolate is too hot. Ensure truffles chill for exactly 30 minutes, and let melted chocolate cool slightly before dipping. Work quickly but gently.
- → Can I use white chocolate for coating instead?
-
Absolutely. White chocolate creates a beautiful contrast with the dark cookie center. Use high-quality white chocolate chips or bars, melting slowly to prevent seizing.
- → Do truffles need to be served cold?
-
Serve chilled for the firmest texture, though they're also delightful at room temperature. The filling becomes softer when warmed, while the chocolate coating remains smooth.