 Save
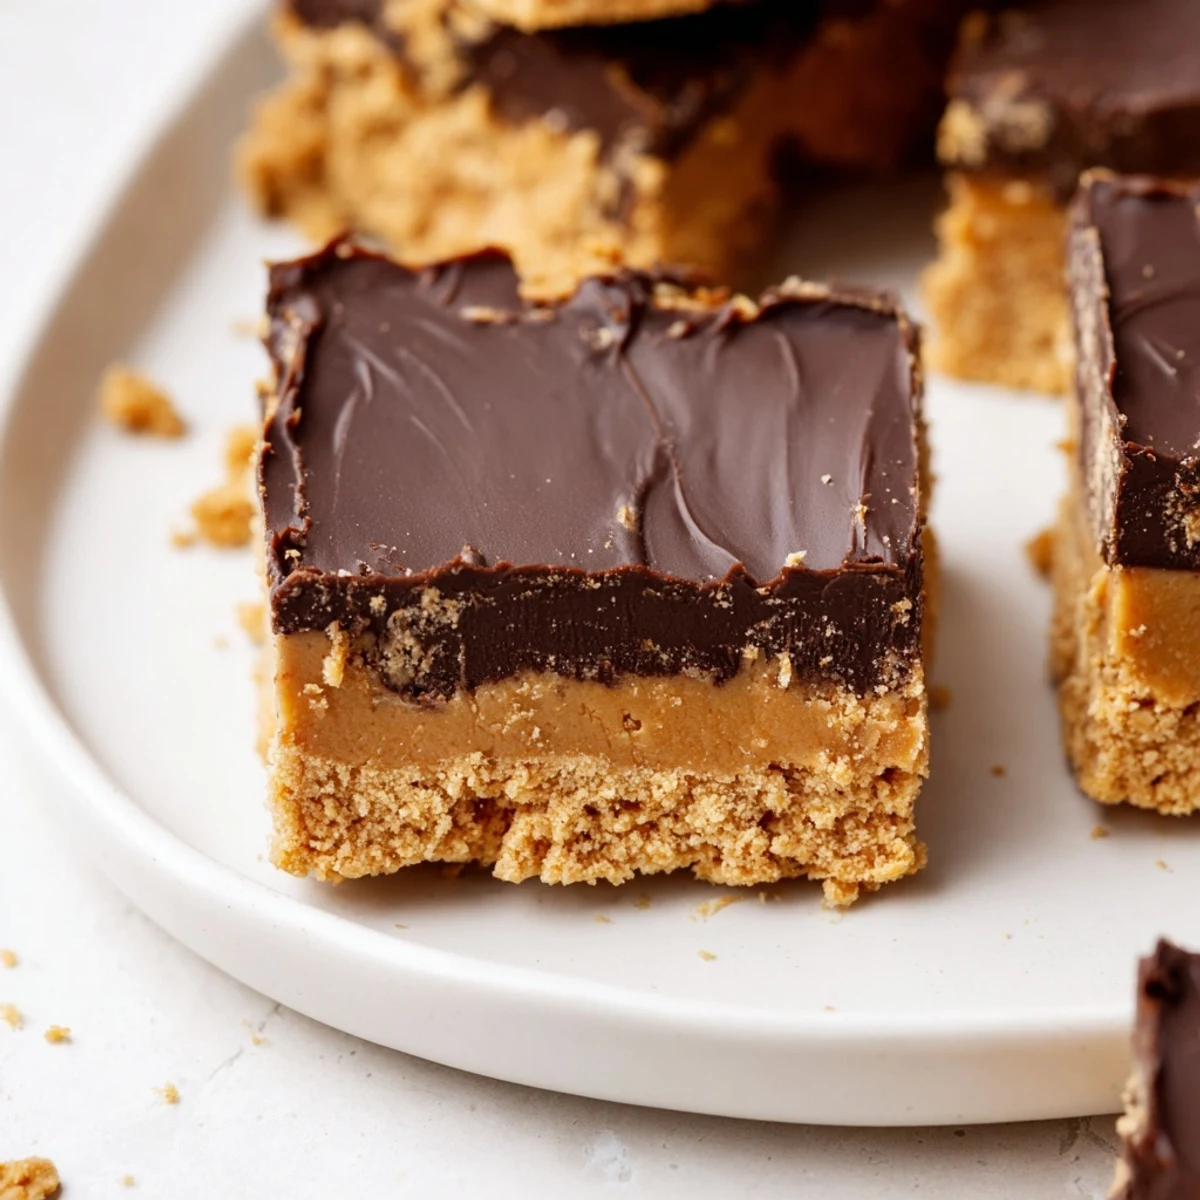
Save These no-bake peanut butter bars layer a buttery, powdered-sugar–studded base of creamy peanut butter and graham crumbs with a glossy chocolate-peanut topping. Press the base into an 8×8 pan, melt chocolate with a touch of peanut butter, spread evenly, then chill at least 2 hours until firm. Cut into 16 bars and store chilled.
The scent of peanut butter somehow fills the whole kitchen before the bars are even set. For me, these no bake peanut butter bars mean pure ease—an unexpected treat pulled together on a weeknight when the craving for something sweet hits hard. I once threw together a batch during a thunderstorm, lights flickering, just to keep everyone at home occupied and happy. Maybe it’s the simplicity, or maybe it’s the ritual of licking the spoon after smoothing the chocolate top that makes them irresistible.
There was one movie night when I cut these into smaller squares so there’d be enough for everyone, but somehow people kept sneaking back for seconds. When the last bar disappeared, my brother staged a mini protest until I promised a double batch next time. In moments like that, I realized these bars had become my unofficial party trick—a guaranteed crowd-pleaser.
Ingredients
- Creamy peanut butter: The heart of every bite—creamy is easiest to blend, but a swirl of crunchy peanut butter adds extra texture if you crave it.
- Unsalted butter: Melted for easy mixing, and unsalted gives you more control over the sweetness and flavor.
- Powdered sugar: Dissolves right into the mix and creates that fudge-like texture (I sift to avoid lumps).
- Graham cracker crumbs: Lend just enough density without baking—if you need gluten-free, any sturdy cookie crumb will do.
- Vanilla extract: Brightens up the peanut butter richness with a subtle backdrop of aroma.
- Semi-sweet chocolate chips: Perfectly balance the peanut butter’s sweetness with a hint of cocoa bitterness (microwave works, but a gentle stovetop melt keeps things smooth).
Instructions
- Prep the pan:
- Line an 8x8 inch pan with parchment paper, letting it hang over the sides—this makes lifting the chilled bars out a breeze later.
- Start the peanut butter base:
- Stir melted butter and creamy peanut butter in a large bowl until glossy and combined; the mixture should come together without effort.
- Add dry ingredients:
- Mix in powdered sugar and graham cracker crumbs, adding vanilla extract last—it gets thick and heavy, but trust your spatula!
- Press and smooth:
- Scrape the dough into your lined pan and firmly press it down so the top is flat and compact; a flat-bottomed glass works beautifully here.
- Make the chocolate topping:
- Microwave chocolate chips and the rest of the peanut butter in short bursts, stirring until just smooth (don’t overheat—the chocolate should be shiny and fluid).
- Spread the topping:
- Pour the melted mixture over the peanut butter layer and smooth it out to the corners for a glossy, even finish.
- Chill to set:
- Refrigerate the pan for at least 2 hours, or until the chocolate doesn’t stick when you touch it lightly with a finger.
- Slice and serve:
- Lift out the slab using the paper, cut into squares with a sharp knife, and try to resist eating them all in one go.
 Save
Save Sharing these bars during a lunch break at work sparked an impromptu discussion about everyone’s childhood snacks. Between bites, we ended up swapping food stories rather than emails, and the chocolate-peanut butter combo seemed to break the daily routine in the best way.
What Makes These Bars Effortlessly Satisfying
It’s honestly the hands-off time that makes this treat so tempting. While the bars chill, I get to tidy up, finish other chores, or even relax with a cup of tea—there’s something restful about letting dessert set itself, knowing a sweet reward is coming.
Ways to Make Them Your Own
The basic recipe is wonderfully forgiving and has become a canvas for little tweaks: sometimes I sprinkle chopped salted peanuts on top, or swap vanilla for almond extract for a twist. Friends with dietary needs have had luck using gluten-free cookies or non-dairy butter substitutes, so don’t hesitate to experiment according to your preferences.
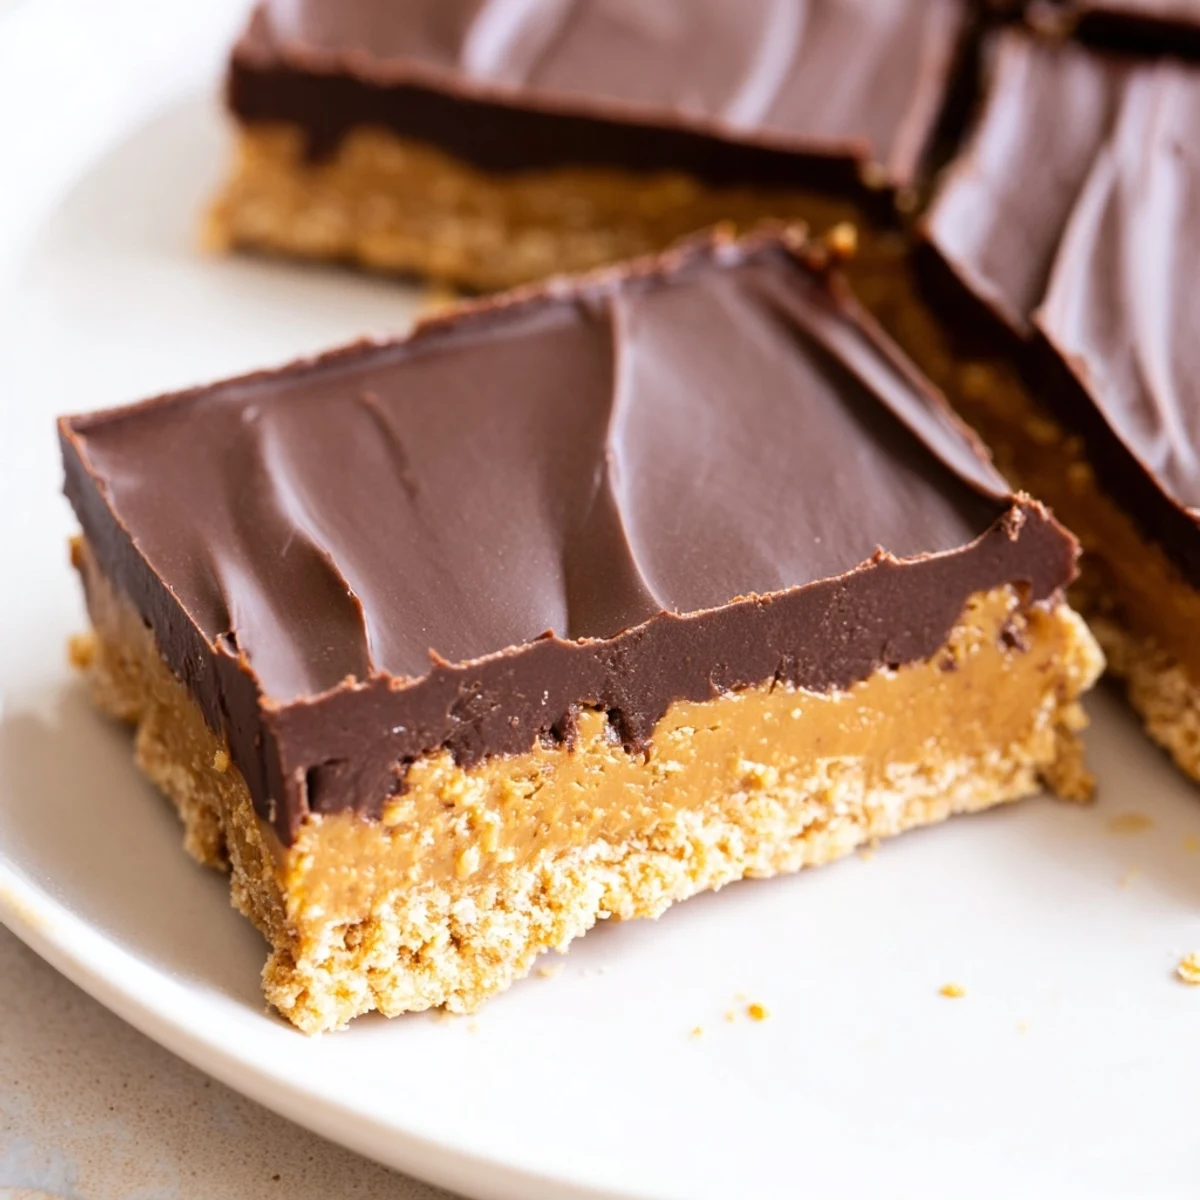
How to Cut and Store for Maximum Enjoyment
Patience really pays off here; bars slice best when thoroughly chilled, and I use a sharp knife wiped clean between each cut for those crisp edges. A sprinkle of sea salt right before serving takes the flavor up a notch and makes them feel a little extra special.
- Store leftovers in an airtight container to keep them fresh and fudgy.
- Chill for at least two hours before cutting—overnight is even better for tidy slices.
- Keep them in the fridge so the chocolate stays snappy.
 Save
Save There’s such joy in offering up a plate of these bars—no fuss, just pure happiness and a chorus of grateful snackers. Hope you find the same easy delight in sharing them with your people.
Recipe FAQs
- → How long should the bars chill before cutting?
-
Chill for at least 2 hours to ensure the base firms and the topping sets. For cleaner slices, refrigerate overnight to fully solidify the layers.
- → Can I swap graham crackers for a gluten-free alternative?
-
Yes. Substitute with gluten-free cookies or gluten-free graham-style crumbs to keep the same crunchy binder while avoiding gluten.
- → What’s the best way to melt the chocolate topping?
-
Melt chocolate chips with the small amount of peanut butter in 30-second microwave intervals, stirring between bursts until smooth. Alternatively, use a double boiler over low heat to avoid scorching.
- → How can I add texture or crunch to the base?
-
Stir in chopped roasted peanuts or use chunky peanut butter in the base. You can also fold in toasted oats or chopped cookies for extra bite.
- → What’s the ideal method for cutting neat bars?
-
Lift the set block using the parchment overhang. Use a sharp knife warmed under hot water and wiped dry between cuts for clean edges.
- → How long do the bars keep and how should they be stored?
-
Store in an airtight container in the refrigerator for up to one week. For longer storage, freeze in a single layer separated by parchment and thaw in the fridge before serving.