 Save
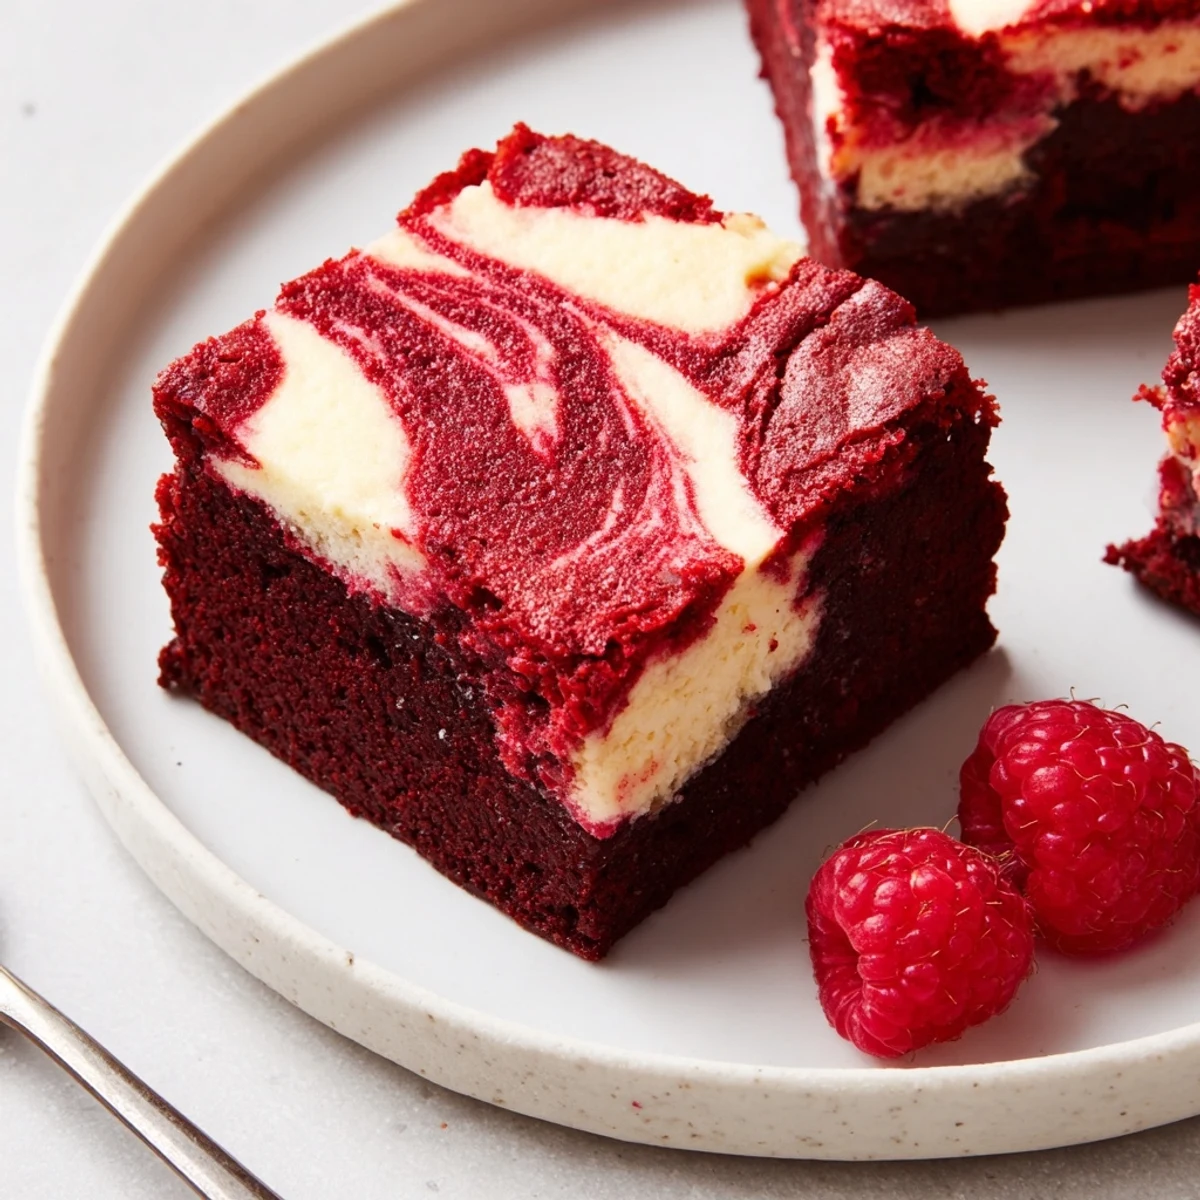
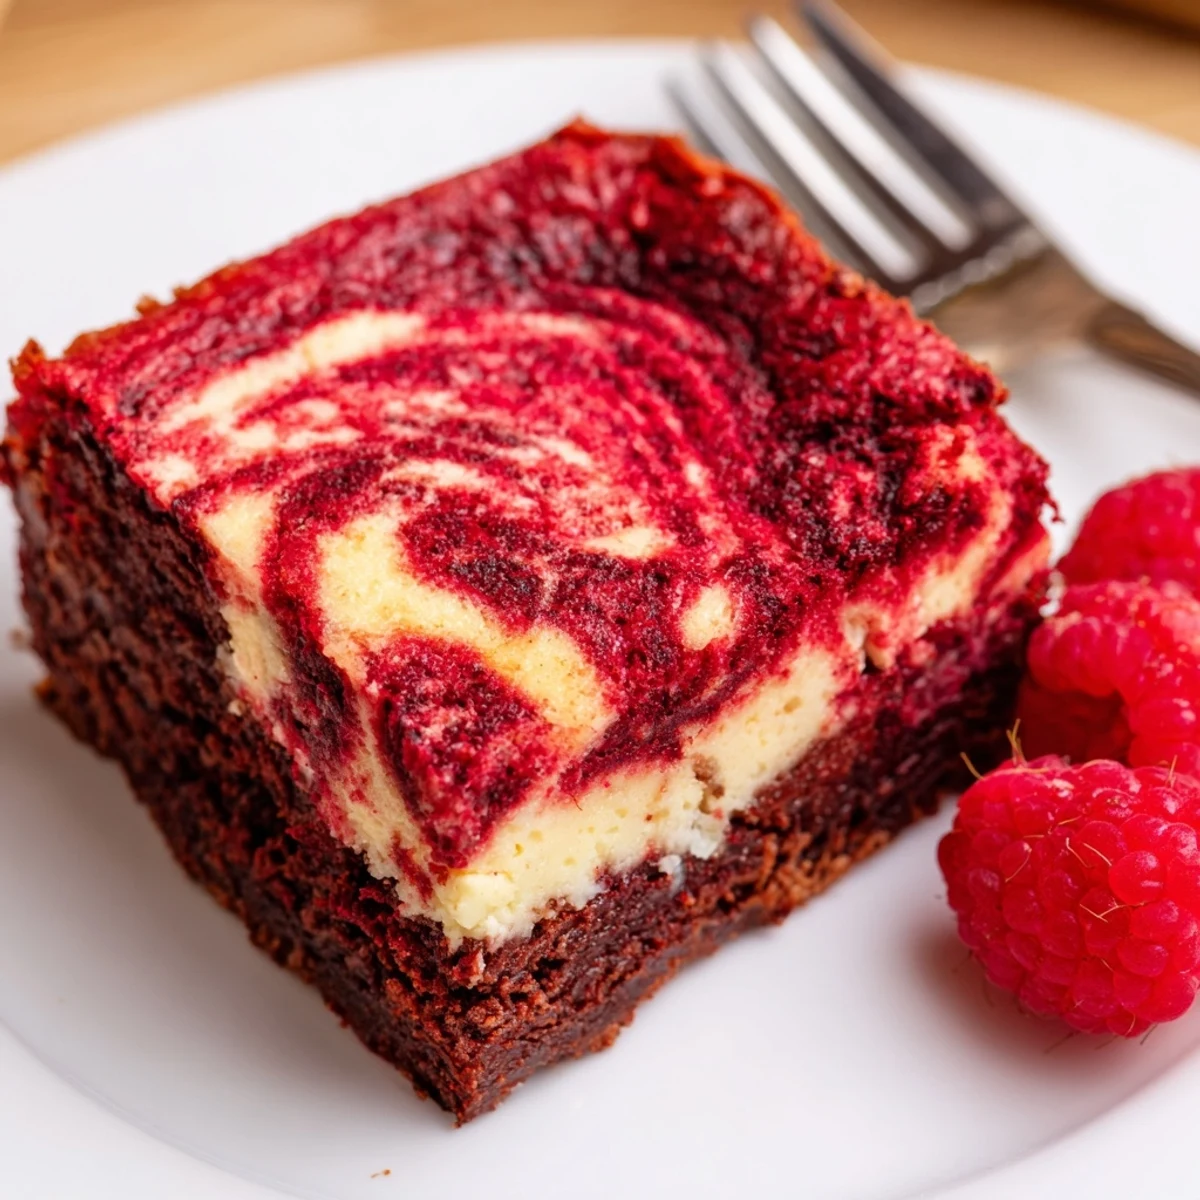
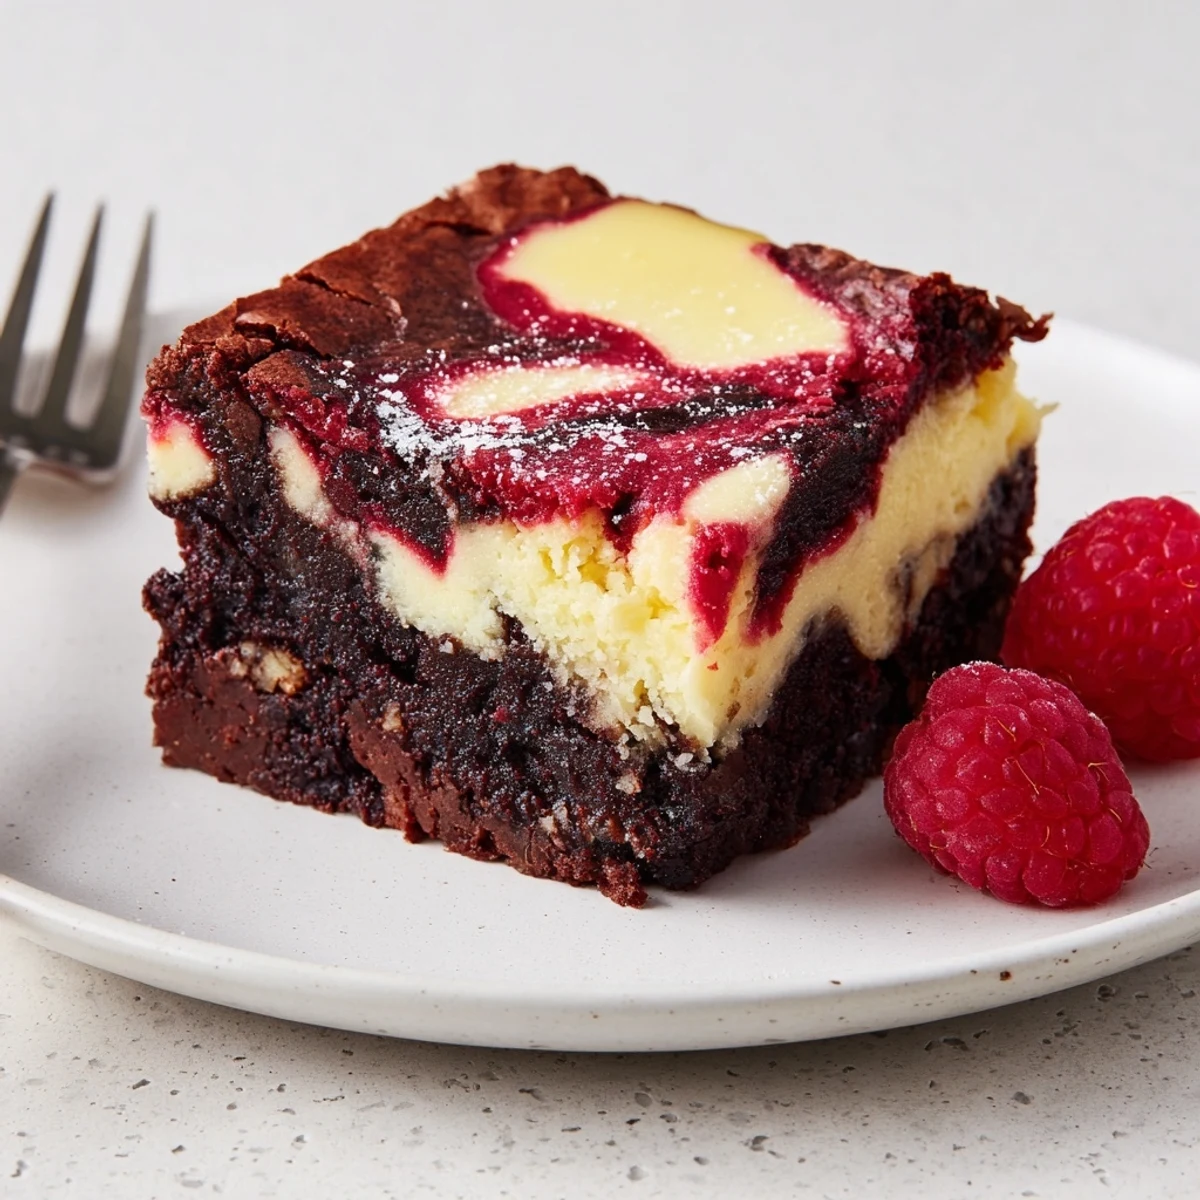
Save Rich, fudgy red velvet brownies are layered with a silky, tangy cheesecake and gently swirled for a marbled finish. Melted butter and sugar form a glossy base; eggs, vanilla and red coloring are folded with flour and cocoa, then most of the batter is spread in an 8×8 pan. A creamy cheesecake mixture is poured over, dollops of reserved batter are swirled, baked until set, cooled and chilled before slicing to serve.
The first time I made these red velvet brownies, my husband took one bite and silently went back for seconds. That rich marbled swirl of chocolate and cheesecake creates the kind of dessert that makes people pause mid conversation.
I brought these to a friends birthday last winter and watched them disappear from the dessert table within fifteen minutes. Someone asked if I'd spent hours on them, but honestly the swirling technique is easier than it looks.
Ingredients
- 115 g unsalted butter: Melted and slightly cooled creates that dense fudgy texture we want in the brownie layer
- 200 g granulated sugar: This amount balances the tanginess of the cheesecake layer perfectly
- 2 large eggs: Room temperature eggs incorporate more smoothly into the batter
- 2 tsp vanilla extract: Pure vanilla makes a noticeable difference in both layers
- 1 tbsp red food coloring: Gel coloring gives a deeper red without adding excess liquid
- 95 g all-purpose flour: Sifting prevents any lumps in the final brownie texture
- 15 g unsweetened cocoa powder: Dutch processed cocoa provides the richest chocolate flavor
- 1/4 tsp salt: Just enough to enhance the chocolate without tasting salty
- 225 g cream cheese: Full fat and completely softened is non negotiable here
- 65 g granulated sugar: This smaller amount keeps the cheesecake layer from becoming too sweet
- 1 large egg: Brings structure to the cheesecake layer without making it rubbery
- 1 tsp vanilla extract: Rounds out the cream cheese flavor beautifully
Instructions
- Preheat and prepare the pan:
- Set your oven to 175°C and line an 8 inch square pan with parchment paper. Those overhangs will be your best friend when lifting these out later.
- Mix the red velvet batter:
- Whisk the melted butter and sugar until completely smooth, then beat in eggs, vanilla, and red food coloring. The mixture should look glossy and uniform.
- Add the dry ingredients:
- Sift flour, cocoa, and salt directly into the wet mixture. Fold gently until just combined. Over mixing here makes tough brownies, so stop as soon as you no longer see dry streaks.
- Layer the batters:
- Spread about three quarters of the red velvet batter into your prepared pan. The remaining quarter will create that gorgeous marbled top.
- Make the cheesecake layer:
- Beat the softened cream cheese and sugar until absolutely creamy with no lumps. Add the egg and vanilla, mixing until the mixture is smooth and glossy.
- Swirl for marble effect:
- Pour the cheesecake batter over the brownie layer. Dollop the remaining red velvet batter on top, then run a knife through both layers just two or three times. Do not over swirl or you will lose the distinct layers.
- Bake to perfection:
- Bake for 33 to 37 minutes until the center is set. A toothpick should come out with moist crumbs but not wet batter.
- Chill before slicing:
- Let cool completely in the pan, then refrigerate for at least one hour. Cold brownies slice cleaner and the flavors have time to meld together.
 Save
Save My sister called me the day after I made these asking for the recipe. She said they were the perfect balance of rich and refreshing, which is exactly what I aim for in a layered dessert.
Getting The Marble Effect Right
The trick to pretty swirls is using just enough passes with your knife. Two or three figure eight motions create the best pattern without muddying the distinct red and cream colors together.
Making These Ahead
These brownies actually taste better on day two. The cheesecake layer firms up and the flavors deepen. Store them in the refrigerator for up to five days.
Serving Suggestions
A light dusting of powdered sugar right before serving makes these look extra special. I have also served them with fresh raspberries when I want to impress.
- Add chocolate chips to the brownie layer before swirling
- Serve with whipped cream for extra indulgence
- Cut small squares because these are quite rich
 Save
Save Every time I serve these at gatherings, someone asks how long it took me. The secret is that most of the work happens in the oven, leaving you free to enjoy your guests.
Recipe FAQs
- → How do I prevent the cheesecake layer from cracking?
-
Beat the cream cheese until smooth and avoid overmixing once the egg is added. Bake until the center is just set and allow the bars to cool gradually in the pan before chilling; rapid temperature changes can cause cracks.
- → Can I swap the red food coloring for a natural alternative?
-
Yes. Use beet powder or concentrated beet juice for a natural hue, but start with less and adjust—natural dyes can affect moisture and flavor, so test for desired color intensity.
- → How do I tell when the brownies are done?
-
Bake until the edges are set and a toothpick in the center comes out mostly clean with a few moist crumbs. The cheesecake layer should appear set but slightly jiggly in the very center.
- → Will adding chocolate chips affect baking time?
-
Sprinkling chocolate chips into the brownie layer adds richness but won’t significantly change baking time. If chips are added, check doneness toward the lower end of the bake window to avoid overbaking.
- → How long should I chill before slicing?
-
Chill for at least 1 hour to firm the cheesecake layer and make clean slices. For best texture, refrigerate up to several hours or overnight before cutting.
- → How should leftovers be stored?
-
Store chilled in an airtight container in the refrigerator for up to 4–5 days. For longer storage, freeze individual slices wrapped tightly, then thaw in the fridge before serving.