 Save
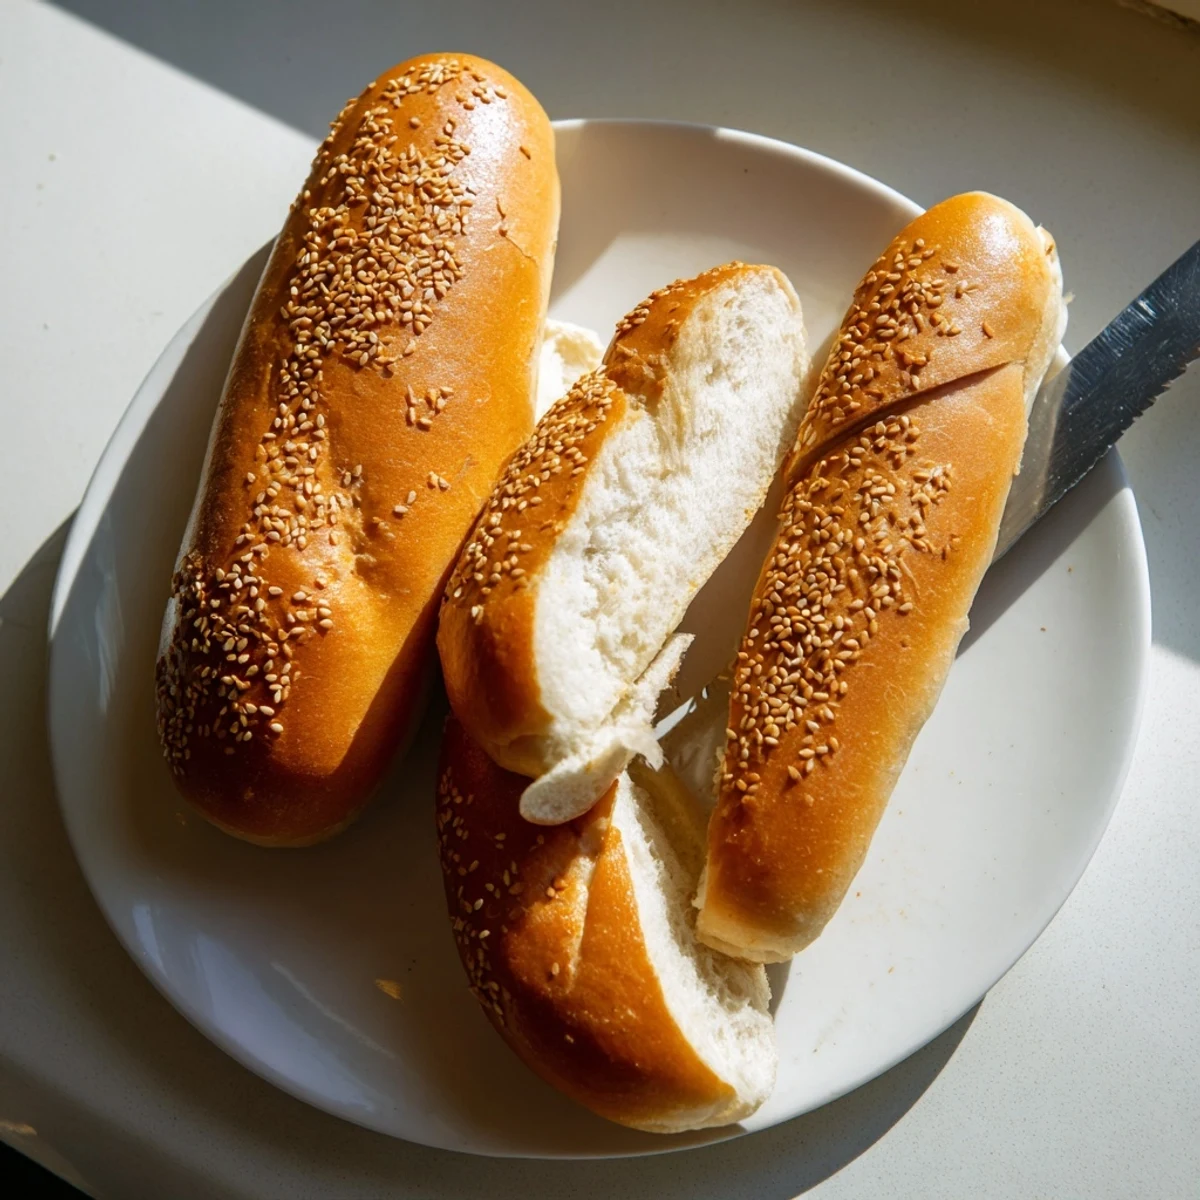
Save Elevate your cookout with these soft, pillowy buns featuring a subtle sourdough tang. The unfed discard adds depth while keeping texture light and tender. After mixing simple pantry staples, let the dough rise until doubled, then shape into eight uniform logs. A final proof creates the perfect airy interior, while a golden bake yields a beautifully browned crust. Brush with butter immediately after baking for extra softness. These buns freeze beautifully and taste even better when toasted on the grill.
The smell of fresh-baked bread has this way of stopping everyone in their tracks, no matter what they are doing. These buns came about on a rainy Saturday when I was staring at yet another container of sourdough discard, wondering if there was something better than crackers to make with it. The first batch disappeared so fast at a backyard gathering that I barely got to taste one myself, and now they are the most requested item whenever we fire up the grill.
Last summer, my neighbor texted asking what smelled so good, and I ended up bringing over a warm basket straight from the oven. Seeing her kids grab seconds with butter still melting on top made all the kneading worth it. Now whenever I see sourdough bubbles in my jar, I know exactly what is happening for dinner that week.
Ingredients
- Sourdough discard: This unfed starter brings that beautiful subtle tang and incredible moisture that keeps buns soft longer than regular dough
- Warm milk: Creates the most tender crumb structure and activates your yeast for that perfect rise
- Unsalted butter: melted into the dough for richness and brushed on afterward for that bakery-soft finish
- Sugar: Feeds the yeast and helps achieve that gorgeous golden brown color in the oven
- Egg: Adds structure and richness while creating that appealing shiny surface
- All-purpose flour: Start with 3 and 3/4 cups, adding only what you need since humidity affects dough every single time
- Instant yeast: Works quickly and reliably, giving you those beautifully puffy buns without the wait
- Milk for brushing: Helps seeds stick and promotes even browning on top
- Melted butter for finishing: The secret step that makes these taste like they came straight from a bakery
Instructions
- Wake up the yeast:
- Combine warm milk with sugar and yeast in your largest bowl, watching for tiny bubbles after a few minutes
- Build the base:
- Stir in your sourdough discard, melted butter, egg, and salt until everything is evenly incorporated
- Bring it together:
- Add flour gradually, mixing by hand or with a dough hook until you have a soft, slightly tacky dough that holds together beautifully
- Work for it:
- Knead on a floured surface for 7 to 8 minutes until the dough feels smooth, elastic, and bounces back when you press it
- Let it rise:
- Place dough in a greased bowl, cover, and walk away until it has doubled in size
- Shape them up:
- Divide into 8 equal pieces and roll each into a 6-inch log, tucking the edges under for smooth tops
- Second rise:
- Arrange on parchment with space between them, cover, and let puff up for 30 to 45 minutes
- Get them ready:
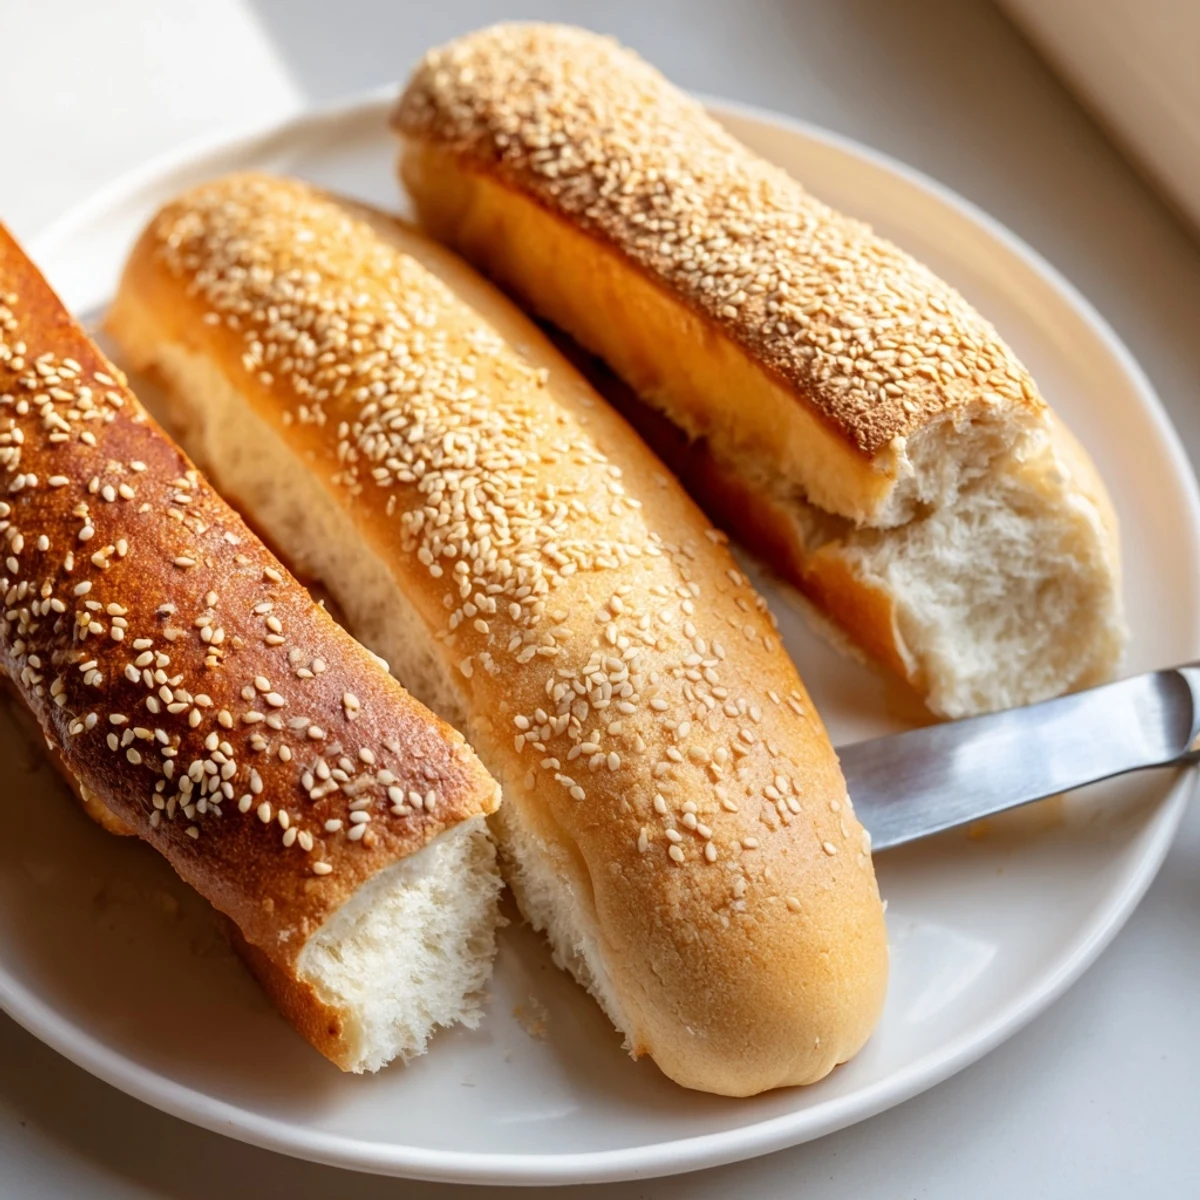
- Preheat to 375°F and brush with milk before adding your seeds or seasoning of choice
- Bake to perfection:
- Slide them in for 18 to 20 minutes until deeply golden and smelling incredible
- The finishing touch:
- Brush immediately with melted butter and let cool completely before slicing
 Save
Save These buns have become such a staple that I keep extra discard in the freezer just for them. Something about making your own bread makes the whole meal feel special, whether it is Tuesday dinner or a weekend cookout.
Making Them Your Own
Swap in bread flour if you love that chewier, bakery-style texture that holds up beautifully to hearty toppings. You can also use honey or maple syrup instead of sugar for a slightly different sweetness that pairs well with the sourdough tang.
Dairy-Free Version
These work surprisingly well with plant-based milk and vegan butter. The texture stays just as soft, and no one will notice the difference when they are piled high with their favorite toppings.
Storage and Freezing
Store in a sealed bag for up to three days, though they rarely last that long in my house. For longer storage, freeze baked buns and thaw them at room temperature when the craving hits.
- Freeze shaped, unrisen buns on a baking sheet before transferring to a bag
- Thaw frozen buns overnight for the best texture
- Refresh day-old buns with a quick warm in the oven
 Save
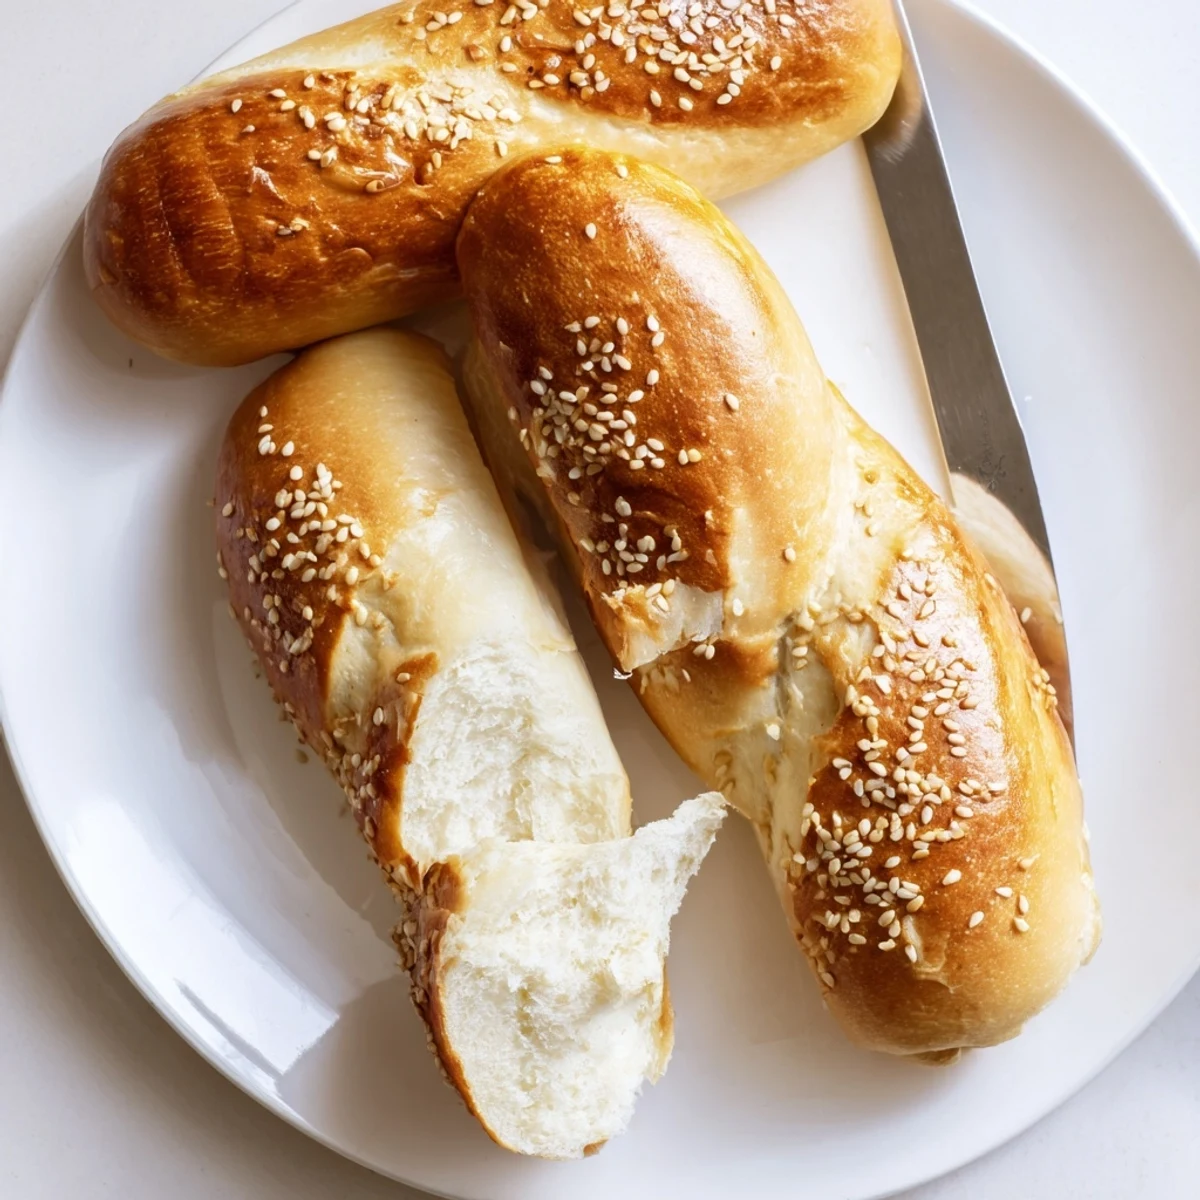
Save There is something deeply satisfying about pulling a tray of golden buns from your own oven. Hope these become a staple in your kitchen too.
Recipe FAQs
- → What makes these buns different from regular hot dog buns?
-
The sourdough discard adds a subtle tang and extra depth of flavor while keeping the texture incredibly soft and tender. The longer fermentation also improves shelf life compared to standard white buns.
- → Can I make these without a stand mixer?
-
Absolutely. Mix by hand with a wooden spoon, then knead on a floured surface for 7–8 minutes until smooth and elastic. The dough is soft and pliable, making hand-kneading quite manageable.
- → How should I store these buns?
-
Keep at room temperature in an airtight bag for up to 3 days. For longer storage, wrap individually in plastic and freeze for up to 3 months. Thaw on the counter or warm gently in the oven before serving.
- → Can I use active sourdough starter instead of discard?
-
Yes, but reduce the yeast slightly to 1 ½ teaspoons since active starter is more potent. You may also need to decrease the hydration by 1–2 tablespoons as active starter tends to be thinner than discard.
- → Why brush with butter after baking?
-
Brushing with melted butter while warm creates a softer, more tender crust and adds rich flavor. It also gives the buns a beautiful sheen and helps them stay fresh longer.
- → Can I shape these as hamburger buns instead?
-
Certainly. Divide the dough into 6–8 pieces and flatten into rounds 4 inches across. Let rise until puffy, then bake for the same amount of time. The texture works perfectly for burgers too.