 Save
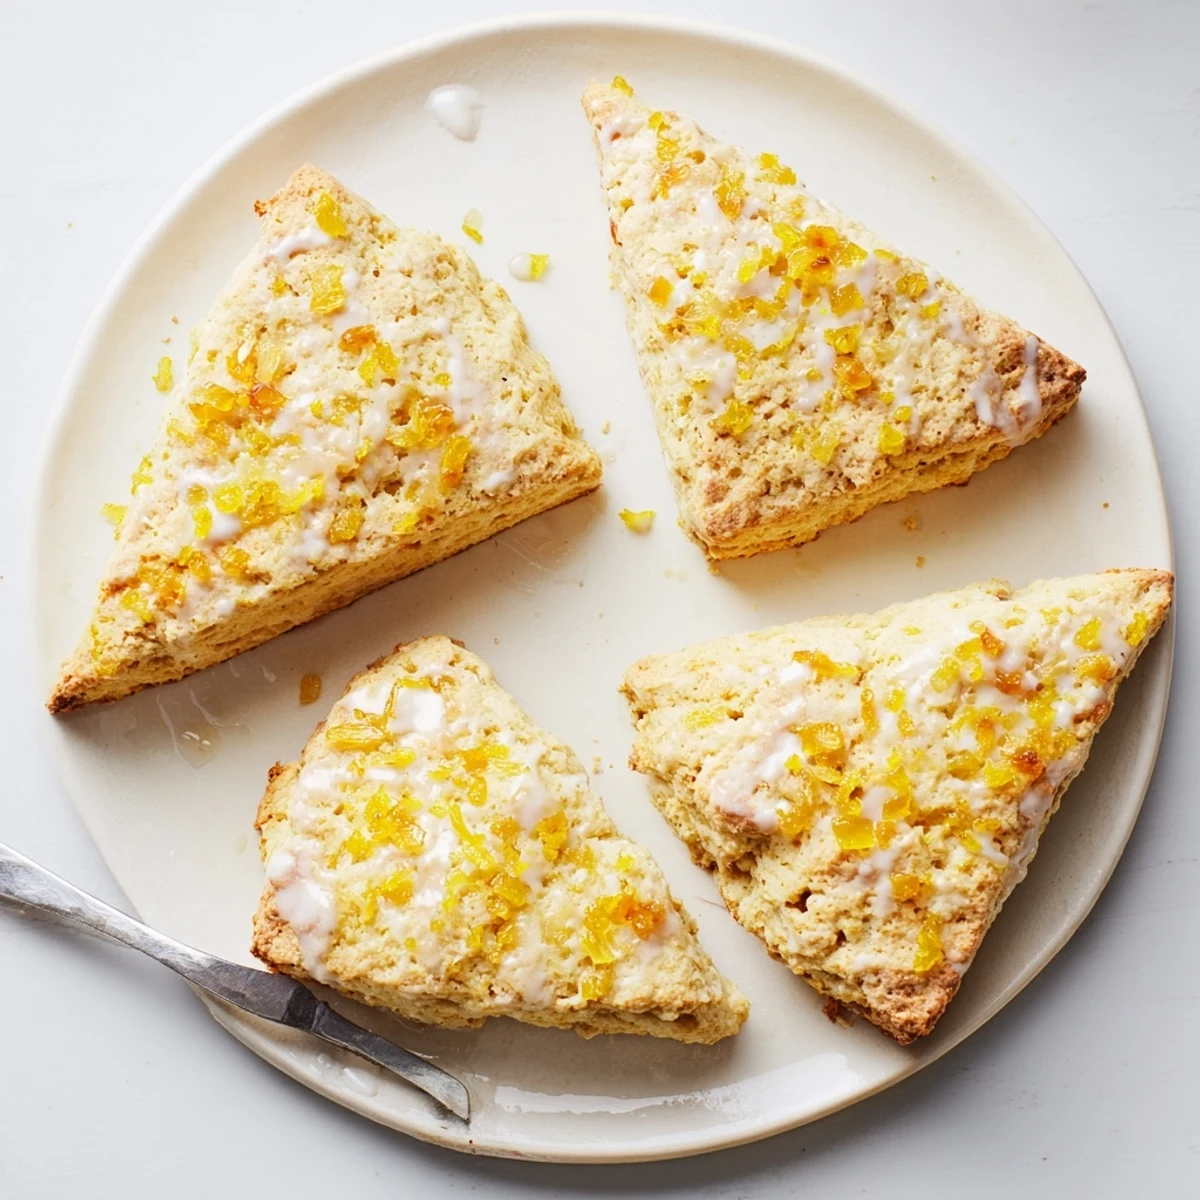
Save These tender scones combine the brightness of fresh orange zest with the warm sweetness of candied ginger. The buttery dough comes together quickly and bakes into golden, flaky wedges perfect for pairing with tea. An optional orange glaze adds an extra layer of citrus sweetness.
The key to success is keeping your butter cold and working it into the flour until you have coarse crumbs with some pea-sized pieces remaining. This creates those desirable flaky layers. Brushing the tops with heavy cream before baking ensures a beautiful golden finish.
My grandmother kept a jar of candied ginger in her pantry that I was forbidden to touch as a child, which of course made it the most fascinating thing in the house. When I finally tasted it as an adult, that fiery sweet bite made perfect sense why she hoarded it. These scones became my way of making that forbidden treat an everyday indulgence.
Last winter, my neighbor stopped by for an emergency tea session after a terrible day. I pulled these from the oven just as she knocked, still warm and smelling like sunshine. She took one bite and actually forgot why she was upset for a full minute.
Ingredients
- All purpose flour: The foundation that gives these their tender crumb without turning tough
- Granulated sugar: Just enough sweetness to let the ginger shine without overpowering
- Baking powder: This is what creates those lovely tall, flaky layers
- Fine sea salt: A pinch balances the sweet and wakes up all the flavors
- Orange zest: Freshly grated releases essential oils that extract never captures
- Candied ginger: Chop it yourself so you control the size of those spicy gems
- Cold butter: Essential for flaky layers, keep it straight from the fridge
- Heavy cream: Creates the richest, most tender scone texture
- Large egg: Binds everything while adding structure and richness
- Pure vanilla extract: Rounds out the citrus notes with warm depth
- Powdered sugar: For the glaze, it dissolves beautifully into fresh orange juice
Instructions
- Prep your space and heat:
- Set your oven to 400°F and line a baking sheet with parchment paper before you touch anything else
- Mix the dry foundation:
- Whisk flour, sugar, baking powder, and salt in a large bowl, then stir in the orange zest and chopped ginger until evenly distributed
- Work in the butter:
- Add cold cubed butter and use a pastry blender or your fingertips to break it into the flour until you see coarse crumbs with some pea sized butter pieces remaining
- Combine the wet ingredients:
- In a separate small bowl, whisk together the cream, egg, and vanilla until completely blended
- Bring the dough together:
- Pour the wet mixture over the dry ingredients and fold gently with a fork until the dough just barely comes together, leaving some dry patches is perfectly fine
- Shape and portion:
- Turn the dough onto a lightly floured surface and pat it into a 1 inch thick round, then cut into 8 wedges like a pizza and arrange them on your prepared baking sheet with space between each
- Add the finishing touch:
- Brush the tops with a little extra cream to encourage golden color
- Bake to perfection:
- Bake for 16 to 18 minutes until the tops are golden and they spring back when gently pressed
- Glaze if desired:
- Whisk powdered sugar with just enough fresh orange juice to make it drizzleable, then pour generously over the cooled scones
 Save
Save My friend Sarah claims these scones saved her during a particularly brutal deadline week at work. She started making a batch every Sunday, and the ritual of zesting oranges and chopping ginger became her meditation before the chaos.
The Secret to Tall Scones
I learned from a British baker that cutting your scones with a sharp straight down motion, never twisting, helps them rise evenly. A dull knife that squishes the edges keeps them from reaching their full height potential in the oven.
Getting That Bakery Look
The cream wash before baking creates that gorgeous golden finish, but an egg wash mixed with a splash of cream gives an even richer color. Either way, do not skip this step because it is the difference between homemade and bakery beautiful.
Make Ahead Magic
These scones freeze remarkably well either baked or unbaked. I always keep a batch of unbaked wedges in the freezer, ready to pop directly into the oven for fresh baked scones without any morning effort.
- Freeze unbaked scones on a tray first, then transfer to a bag to prevent sticking
- Add 2 to 3 minutes to the baking time when baking from frozen
- Baked scones reheat beautifully in a 300°F oven for 5 minutes
 Save
Save There is something profoundly comforting about the combination of warm citrus and spicy ginger, like a hug that starts with a little zing before settling into sweetness.
Recipe FAQs
- → Can I freeze the dough?
-
Yes, cut the scones into wedges and freeze on a baking sheet. Once solid, transfer to a freezer bag for up to 3 months. Bake from frozen, adding 2-3 minutes to the baking time.
- → What can I substitute for candied ginger?
-
Try crystallized ginger, dried cranberries, or chopped dark chocolate. For a different flavor profile, use lemon zest instead of orange with poppy seeds.
- → Why are my scones dense?
-
Overworking the dough develops gluten, making scones tough. Mix just until the dough comes together. Also ensure your baking powder is fresh and your oven is properly preheated.
- → Can I make these without the glaze?
-
Absolutely. The scones are delicious on their own. Simply brush with cream before baking for a golden finish, or serve with butter, clotted cream, or jam.
- → How should I store leftovers?
-
Store in an airtight container at room temperature for up to 2 days. For longer storage, freeze cooled scones and reheat in a 350°F oven for 5-10 minutes.